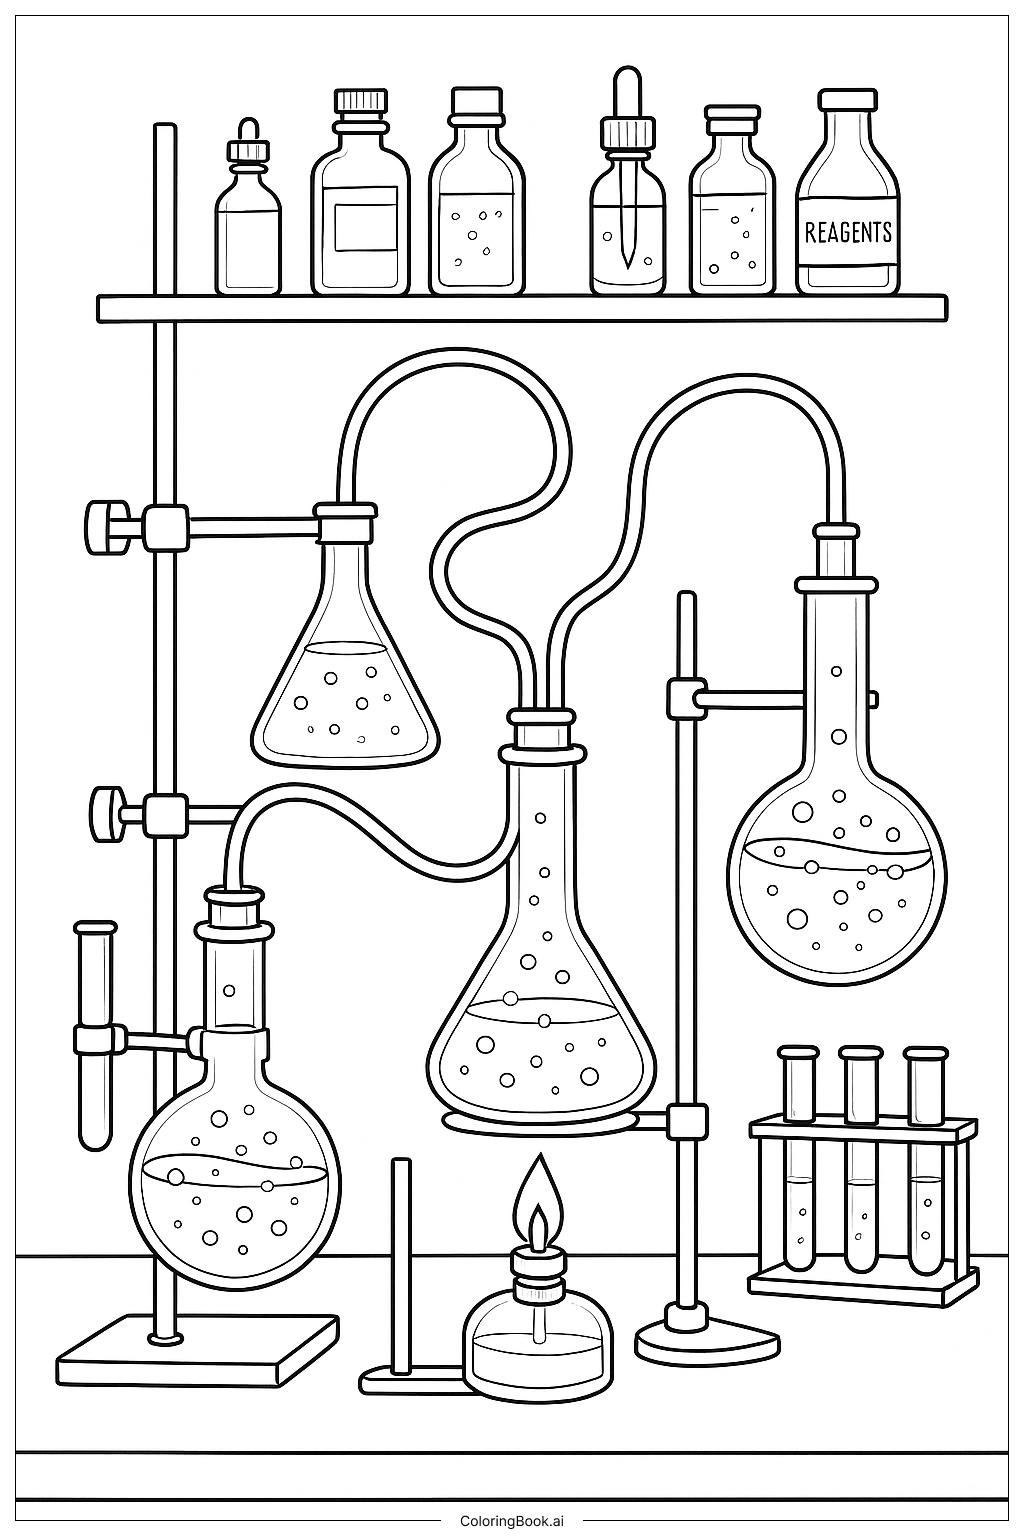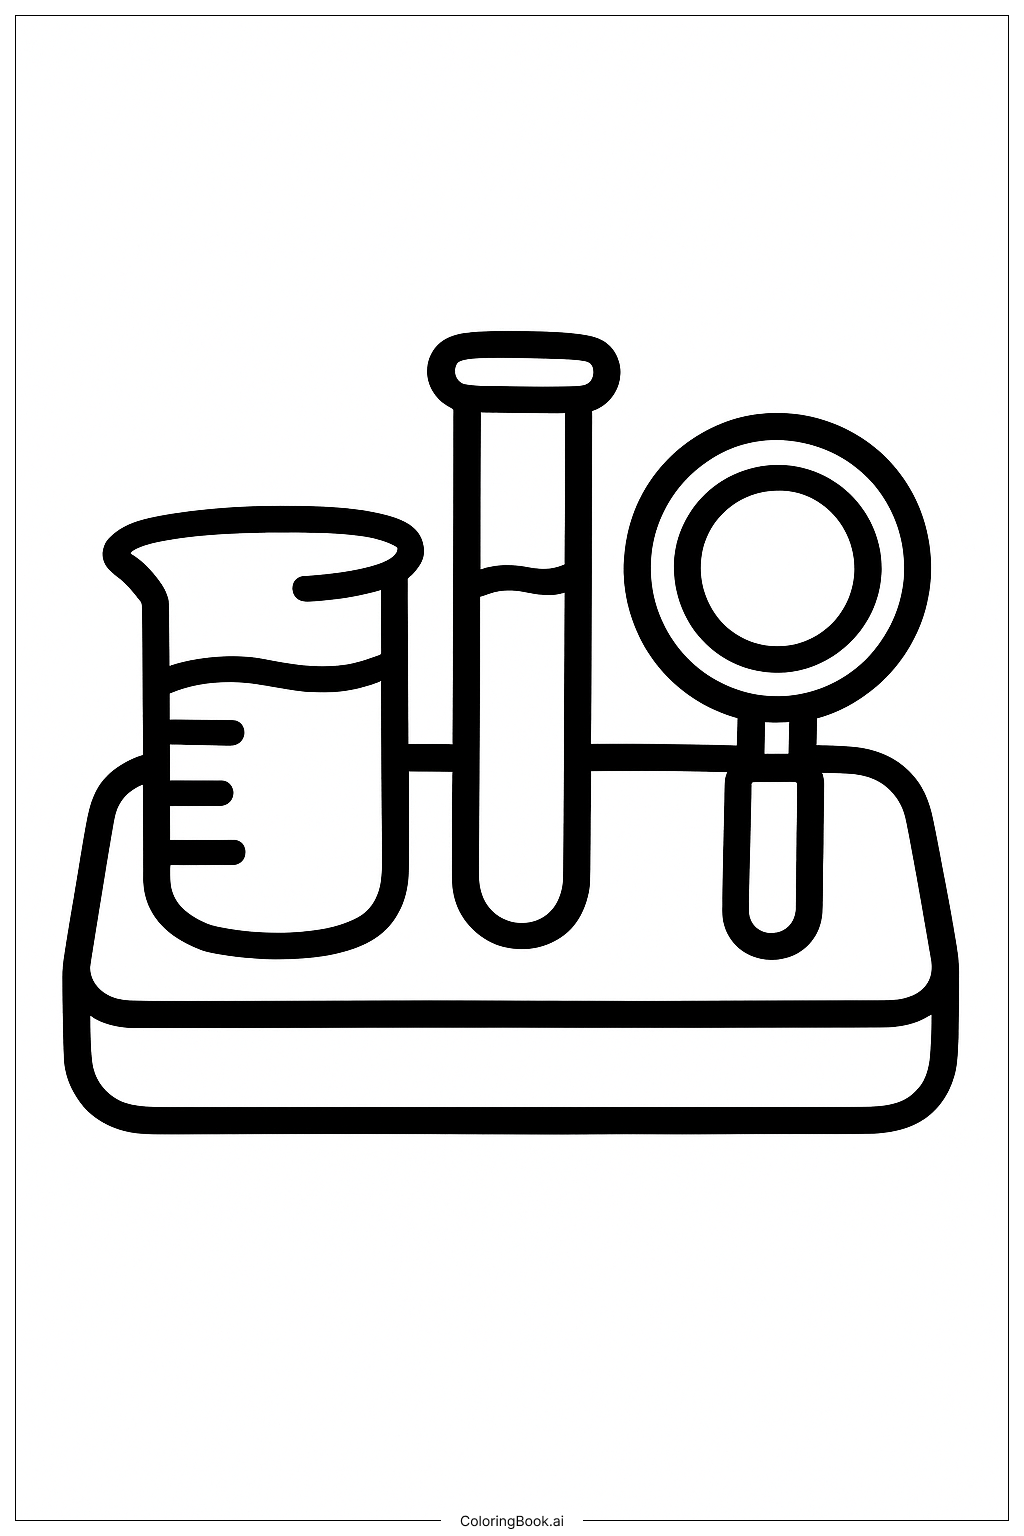
Coloring tips: How to color Science Kit Tray coloring page well?
Use bright colors to make each item stand out. For the beaker and test tube, try using shades of blue or green to represent liquids. The tray can be colored brown or gray to look like wood or plastic. The magnifying glass lens can be light blue or gray to show transparency, and the handle can be colored differently to separate it from the lens. Encourage kids to color inside the lines carefully to keep the shapes clear. Adding small details like bubbles in the beaker can make the picture more fun.
Coloring challenges: Which parts are difficult to color and need attention for Science Kit Tray coloring page?
1. Staying inside the small spaces of the test tube and the narrow parts of the magnifying glass handle can be tricky for younger kids.
2. Coloring the rounded shapes evenly without leaving white spots may require patience and careful strokes.
3. Differentiating colors for similar areas, like liquids in both beaker and test tube, needs focus to avoid mixing colors.
4. Keeping the tray’s edges straight while coloring requires steady hand control.
5. Understanding the transparent part of the magnifying glass can be challenging but useful for creativity.
Benefits of coloring books: Advantages of drawing Science Kit Tray coloring page
Coloring this science kit tray helps kids improve their focus and hand-eye coordination. It teaches them about scientific tools used in experiments. Kids can practice color matching and learn to distinguish different objects by their shapes and details. The activity encourages creativity by choosing colors and imagining liquids or materials inside the beaker and test tube. This coloring page also helps develop patience and fine motor skills, which are important for writing and drawing tasks.