Coloring tips: How to color Science Chemistry Lab Setup coloring page well?
Use bright and varied colors for the liquids to show different chemicals, such as blue, green, yellow, or red. Color the glass bottles and flasks with light shades to keep the transparent effect. The metal stands and clamps can be gray or silver. Make the flame of the burner orange and yellow for a warm glow. The background can be subtle with light colors to keep the focus on the lab equipment. You may add small details like bubbles or liquid levels in different colors to make the image more interesting and realistic.
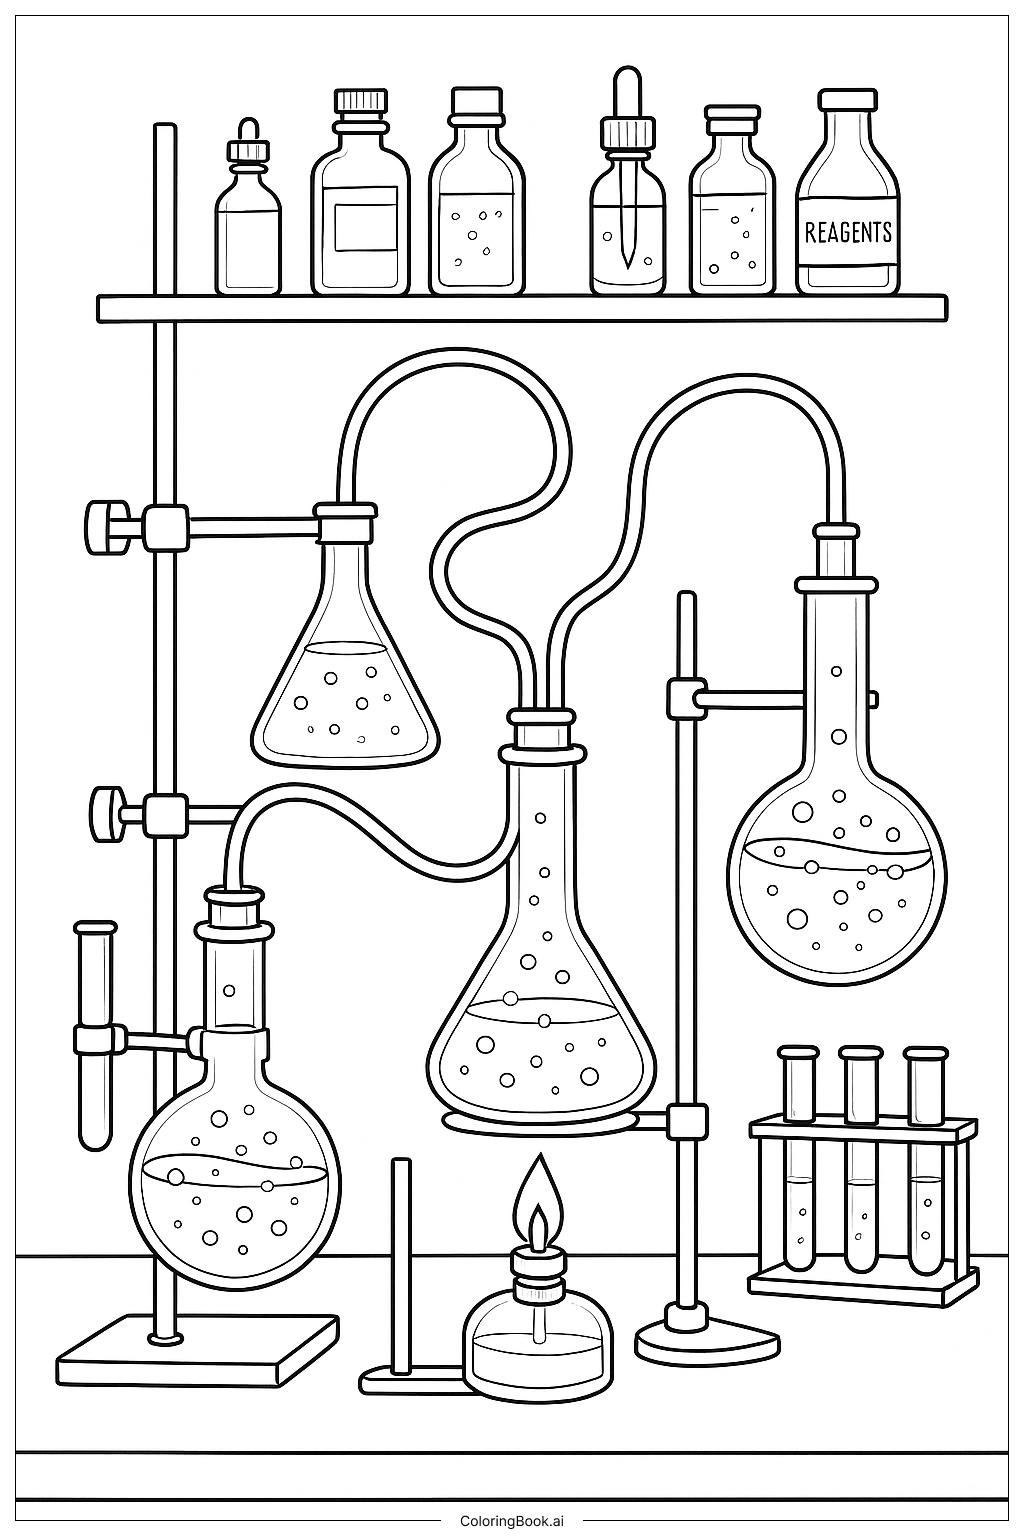
Coloring challenges: Which parts are difficult to color and need attention for Science Chemistry Lab Setup coloring page?
1. The many tubes and connections between flasks can be tricky to color neatly because they twist and overlap. 2. Creating a transparent look for glass bottles and flasks while using color might be hard. 3. Small details like the bubbles inside the liquids require careful coloring to avoid mistakes. 4. Coloring the burner flame needs a smooth gradient of yellow to orange to appear realistic. 5. Coloring the small reagent bottles on the top shelf without going outside the lines might be challenging due to their size.
Benefits of coloring books: Advantages of drawing Science Chemistry Lab Setup coloring page
Coloring this science lab setup helps children learn about different lab tools and their uses. It encourages attention to detail and patience due to the small parts and tubes. Coloring bubbles and flames makes the image lively and sparks curiosity about how experiments work. It improves fine motor skills and hand-eye coordination while making learning about chemistry fun and creative. This page also helps children recognize science equipment in a simple and engaging way.