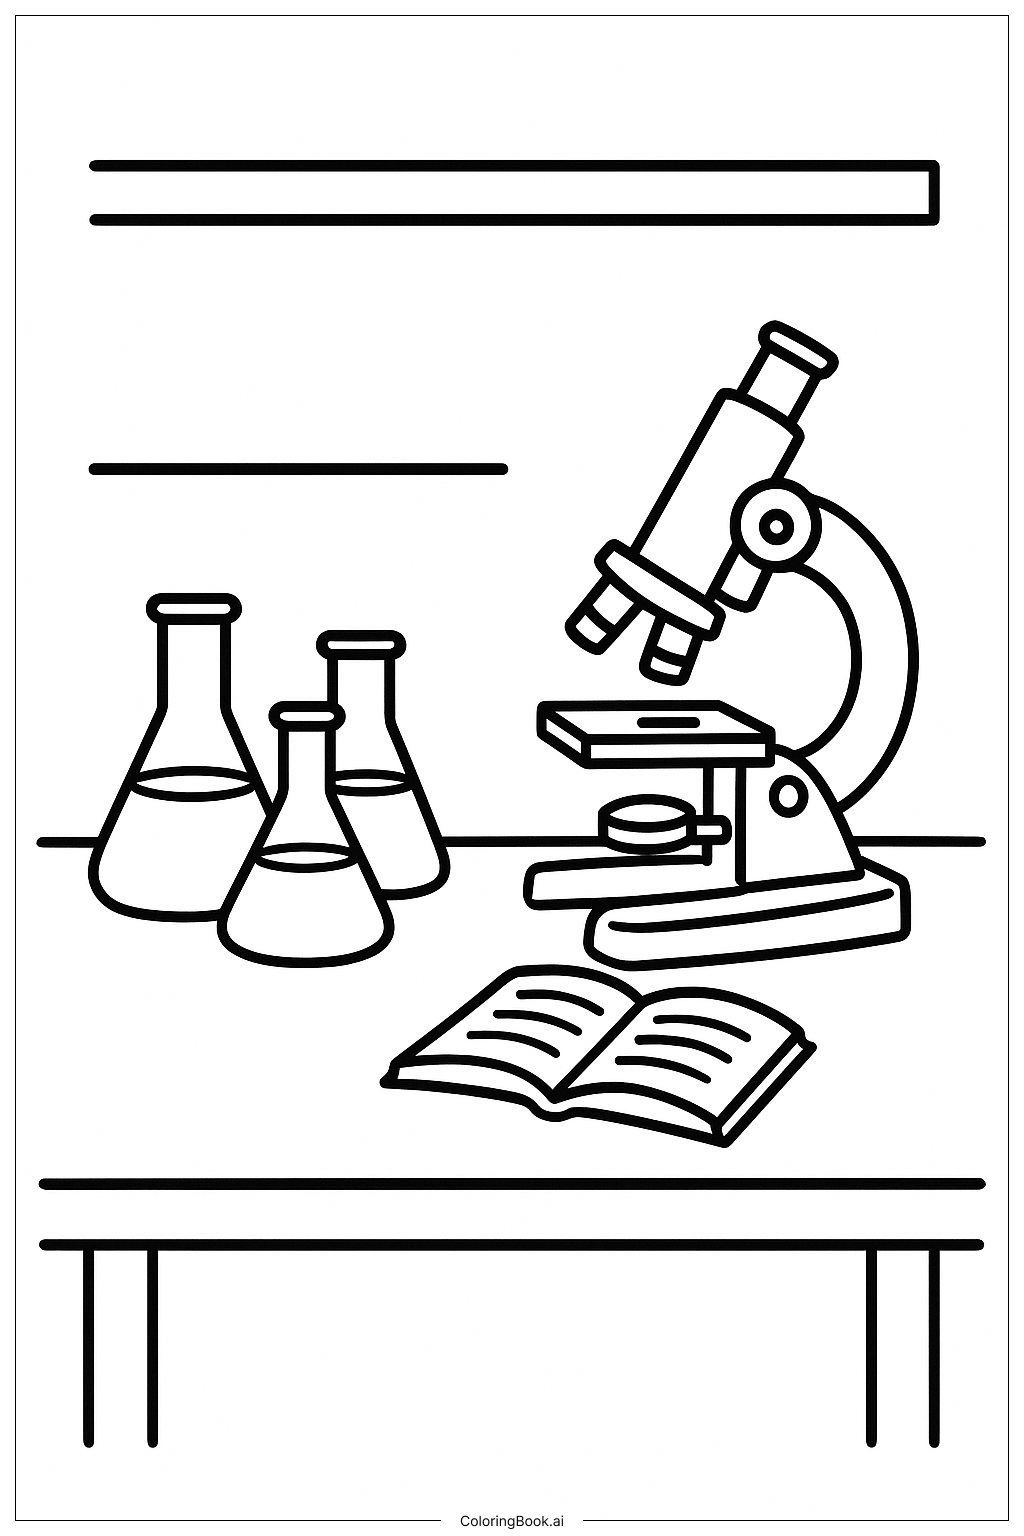
Coloring tips: How to color Science Lab Experiment coloring page well?
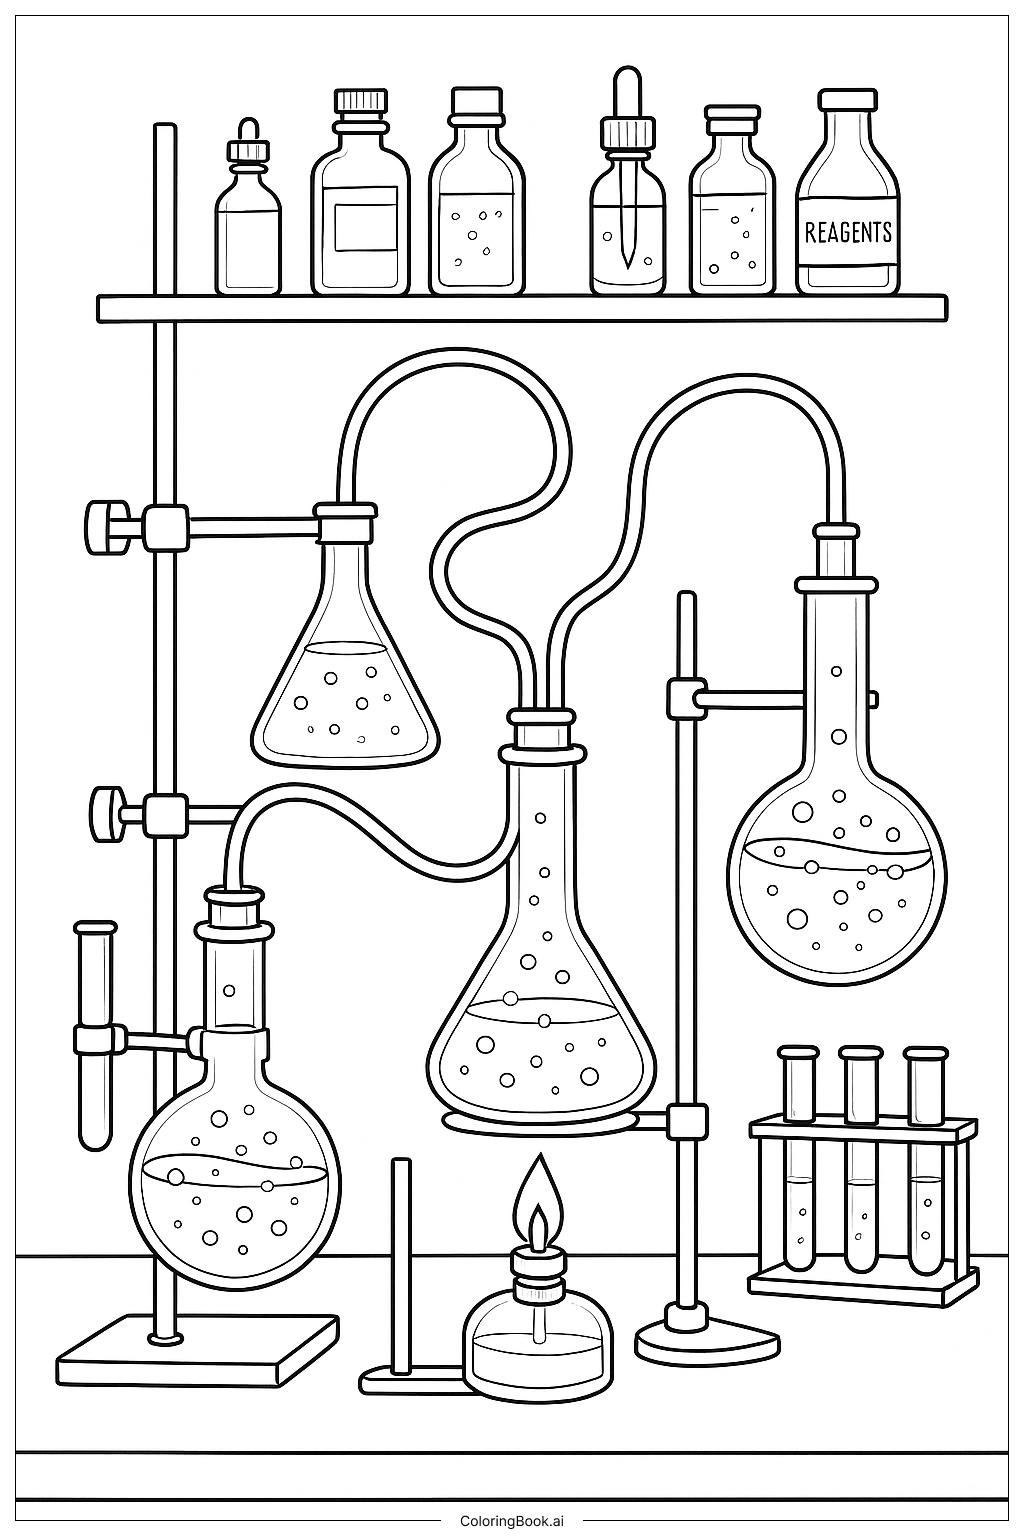
Start with the background shelves and walls using soft neutral tones like light gray or pale blue to keep focus on the main scene. Color the beakers and flasks in bright, vivid shades — green, purple, orange, and yellow work great to show different liquids. Use a clean white or light tan for the lab coat if a scientist figure is present. Make the liquids look bubbly and glowing by layering lighter tones at the top and darker shades at the bottom. For metal equipment like the microscope and stands, silver or dark gray adds a realistic feel. Add warm yellow for lighting effects or glowing reactions. Feel free to mix unexpected colors for the liquids — science is all about imagination. Use red or orange sparingly for warning labels or hot elements to create contrast. Keep the overall palette bright and energetic to match the excitement of a science lab.
Coloring challenges: Which parts are difficult to color and need attention for Science Lab Experiment coloring page?
• Intricate Glassware Details: The beakers, test tubes, and flasks have curved edges and fine outlines. Staying inside these small rounded shapes requires a sharp pencil or fine-tipped marker. Young colorists may find it tricky to avoid coloring over the lines where tubes connect or overlap.
• Liquid Transparency Effects: Showing that glass is see-through while still adding color to the liquid inside is a real challenge. Colorists need to leave some areas lighter or white to suggest the glass surface, while using deeper tones in the center of the liquid to create depth.
• Small Equipment and Labels: Items like buttons on the microscope, tiny labels on bottles, and small dials have very limited space. Using the tip of a colored pencil rather than a marker helps here. Rushing through these spots often leads to smudging or going outside the lines.
• Background Clutter and Depth: The shelves and background are packed with bottles and jars. Choosing colors that are similar but slightly different for each item helps separate them visually. Without variation, the background can look flat or confusing. Planning a simple color scheme for the shelves before starting saves a lot of trouble later.
• Connecting Tubes and Coils: Coiled or curved tubes connecting the equipment wind around other elements. Coloring along a curved path without losing track of the line direction takes patience. It helps to trace the tube lightly with a finger first before applying color, so you know exactly where it starts and ends.
Benefits of coloring books: Advantages of drawing Science Lab Experiment coloring page
Coloring this science lab scene offers a wonderful mix of fun and learning for kids and teens. As colorists work through the image, they naturally become more familiar with real lab equipment like beakers, microscopes, and test tubes. This builds early science vocabulary and curiosity in an engaging, low-pressure way.
The detailed nature of the image helps develop fine motor skills. Carefully filling in small test tubes or curved glassware strengthens hand control and pencil grip, skills that directly support handwriting and drawing.
Choosing colors for liquids and equipment encourages creative thinking. There are no wrong answers — a purple bubbling flask is just as valid as a green one. This freedom builds confidence and self-expression.
The image also supports focus and patience. Working through a busy lab scene with many small parts teaches colorists to slow down, plan ahead, and pay attention to details. These are habits that transfer well to studying and problem-solving.
For younger children, the fun theme makes the activity feel like play rather than work. For older kids and teens, the complexity provides a satisfying challenge. Overall, this coloring page sparks imagination, nurtures a love of science, and delivers real developmental benefits in a creative and enjoyable format.