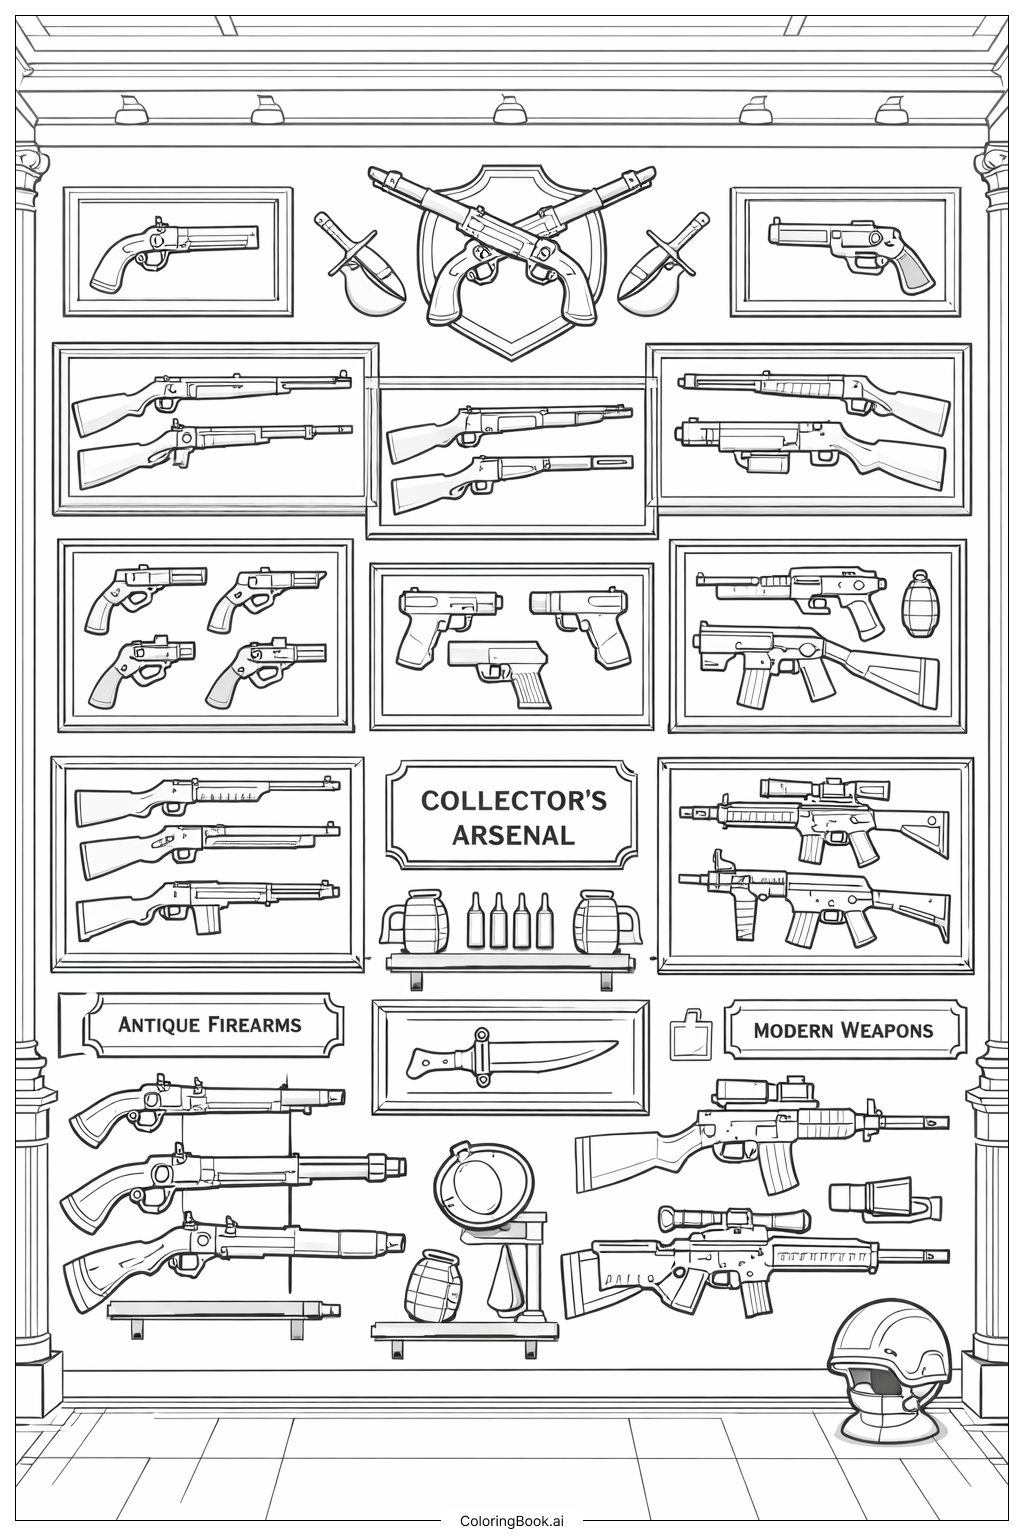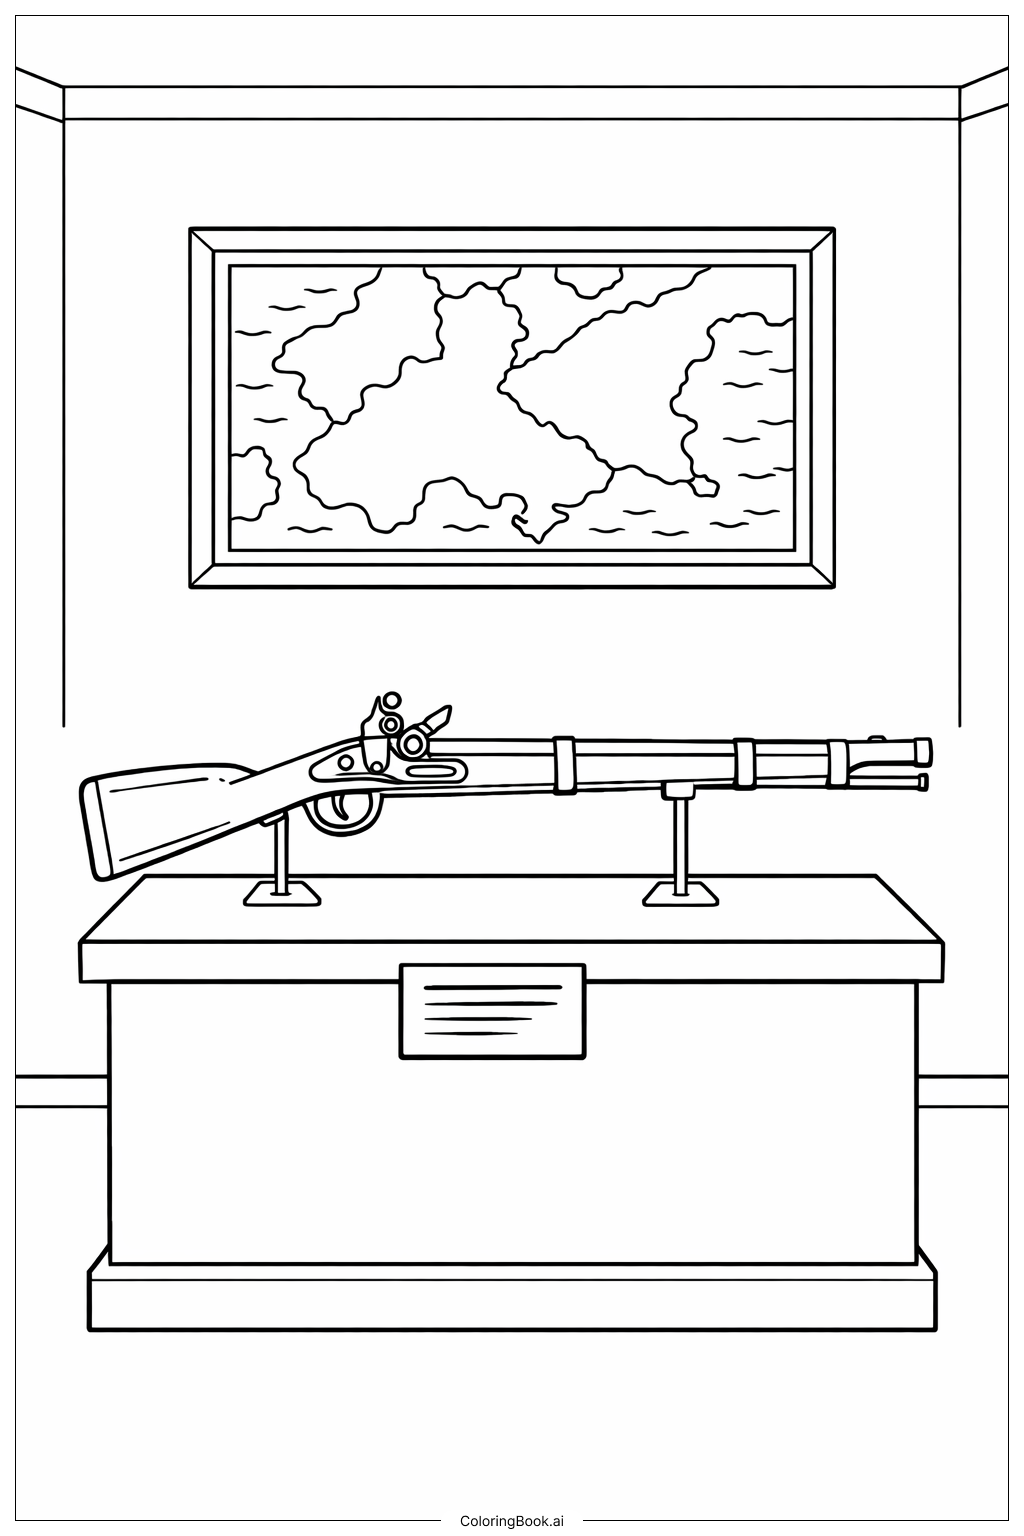
Coloring tips: How to color Museum Display Gun coloring page well?
Use brown shades for the wooden parts of the gun to show the texture of wood. For the metal parts, use gray or silver tones to make them look shiny. The pedestal can be colored in neutral tones like beige or light gray. The background walls can be soft colors such as light cream or pastel to keep the focus on the gun. The map or painting behind should have green for land and blue for water areas to add some color. Add shadows under the gun and stand to give a 3D effect.
Coloring challenges: Which parts are difficult to color and need attention for Museum Display Gun coloring page?
1. The gun has many small parts like the trigger, sight, and barrel bands that need careful coloring. Staying inside the lines is important.
2. The pedestal has straight edges and large flat surfaces that require even coloring without streaks.
3. The map background has irregular shapes for land and water that need attention to detail.
4. Coloring shadows and highlights to show the metallic shine of the gun parts can be tricky.
5. Keeping the colors balanced so the gun stands out without the background being too bright.
Benefits of coloring books: Advantages of drawing Museum Display Gun coloring page
Coloring this picture helps improve fine motor skills because of the detailed gun parts. It encourages attention to detail and patience. Choosing colors for wood, metal, and background teaches color coordination. It also sparks curiosity about history and museums. Coloring the map can teach kids about land and water placement and improve spatial awareness.