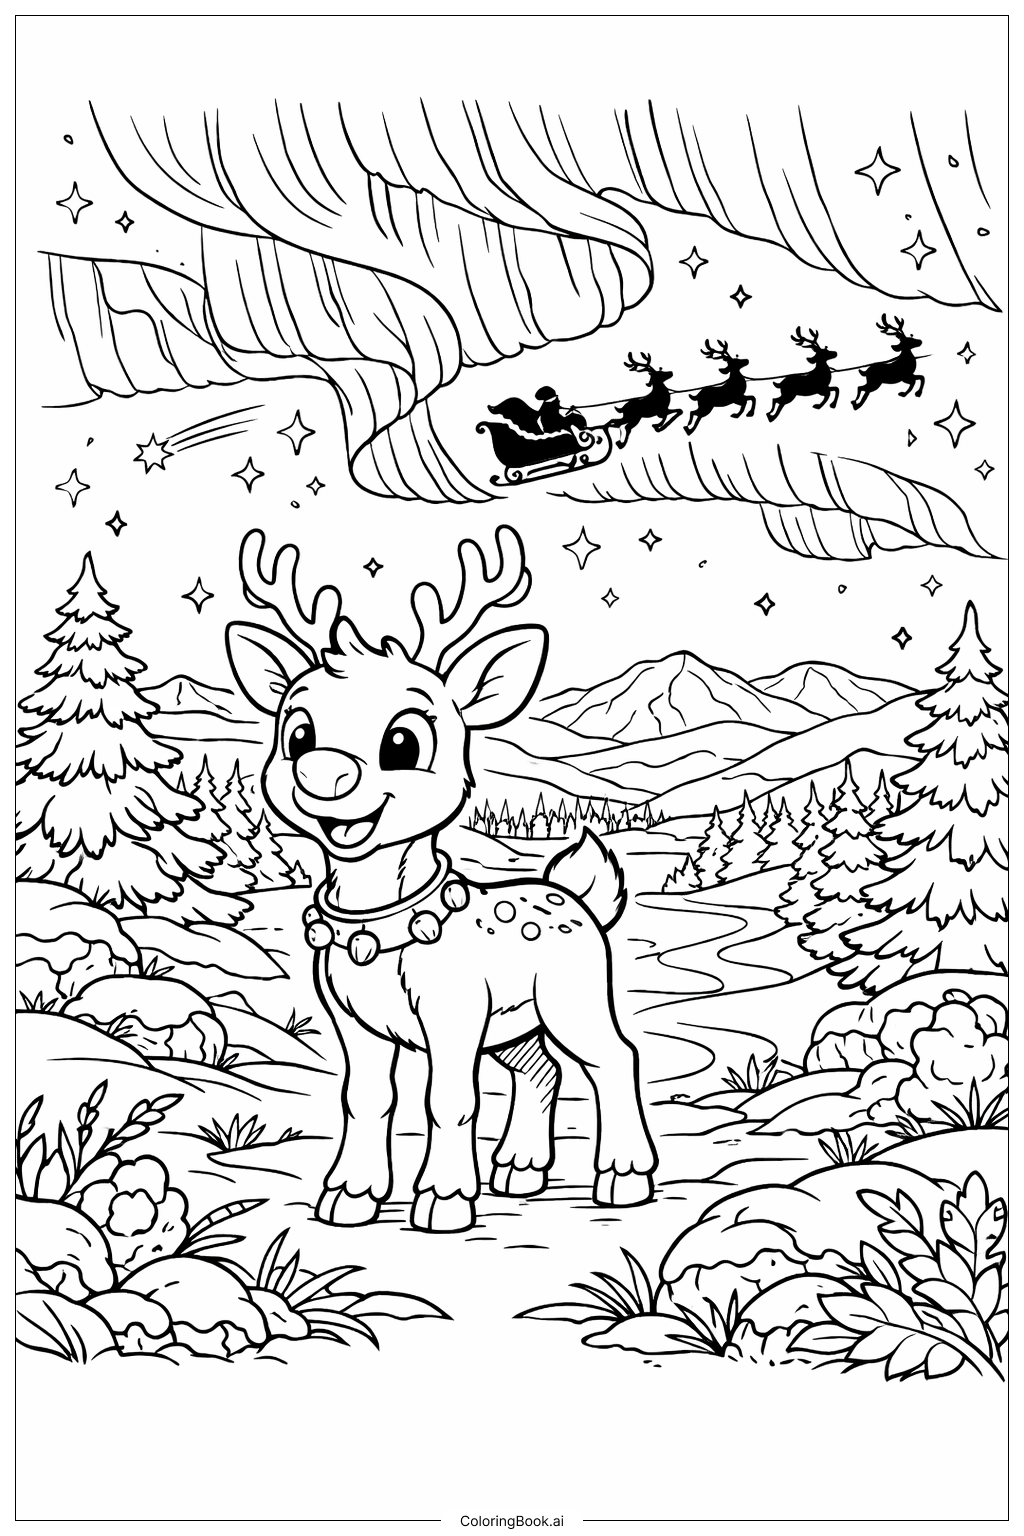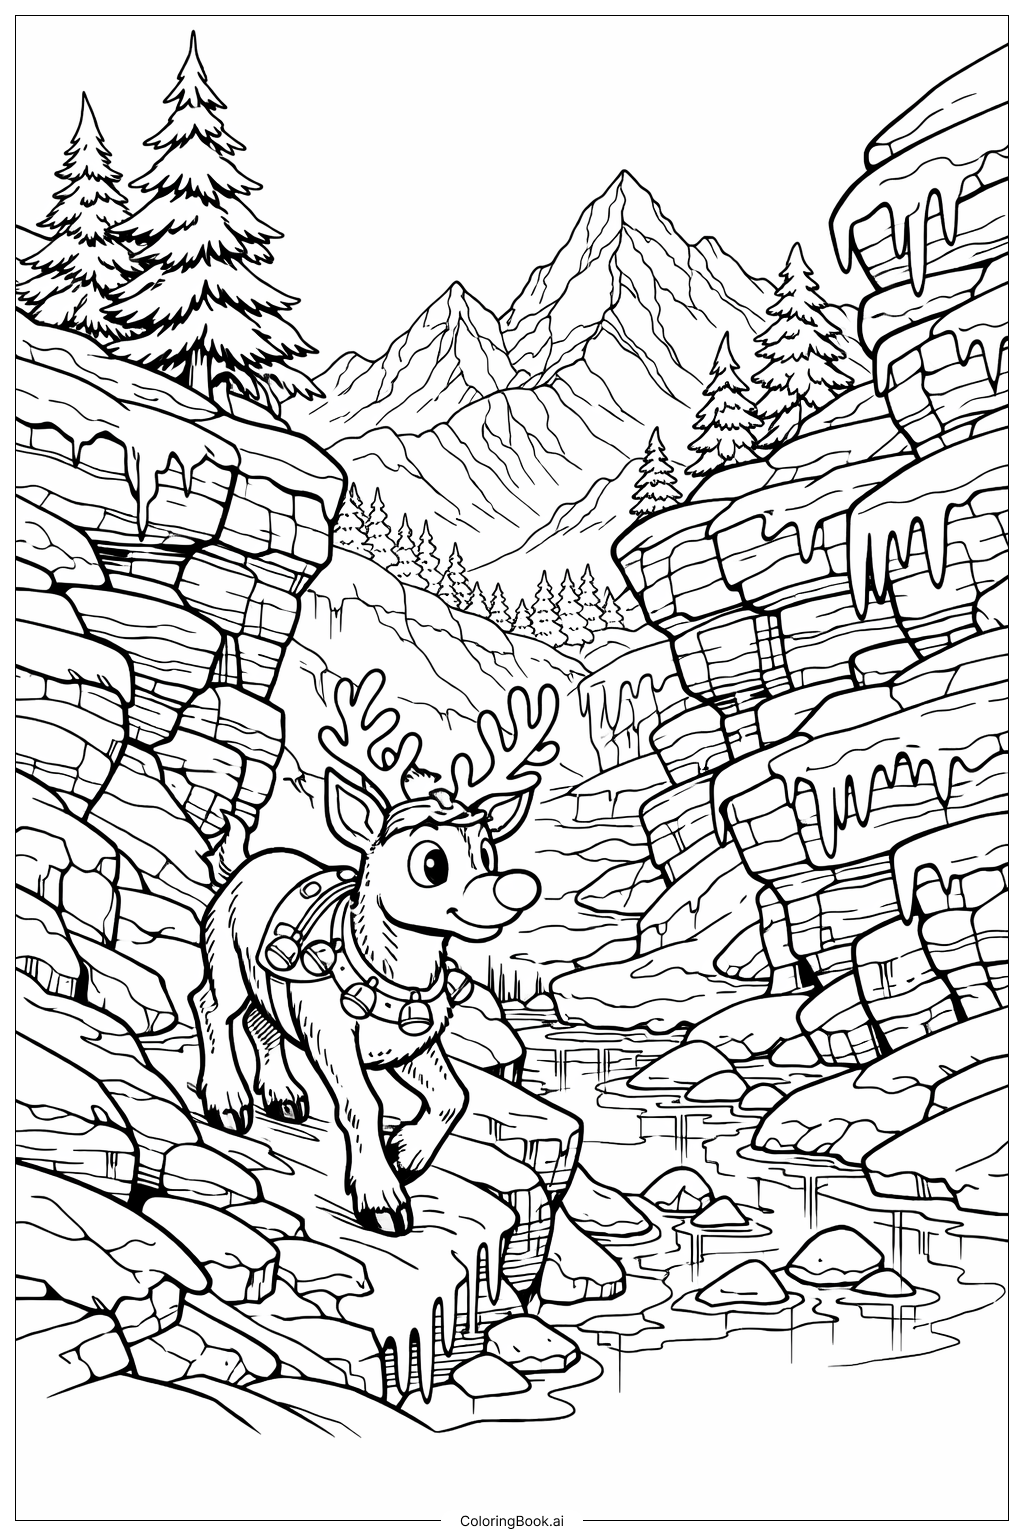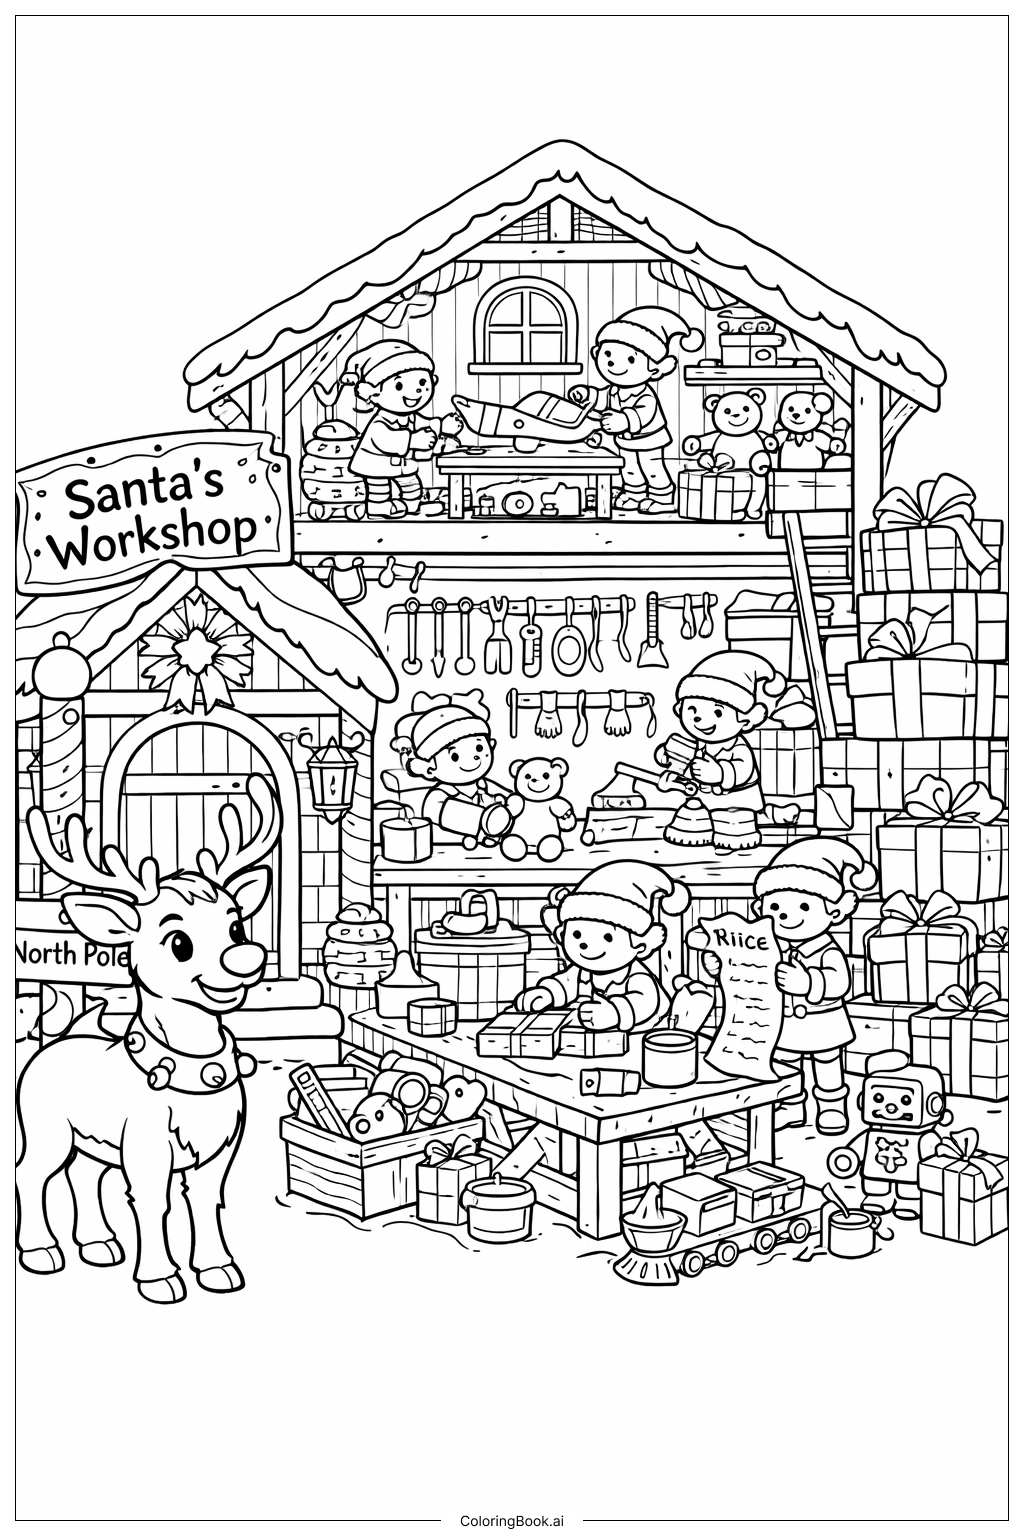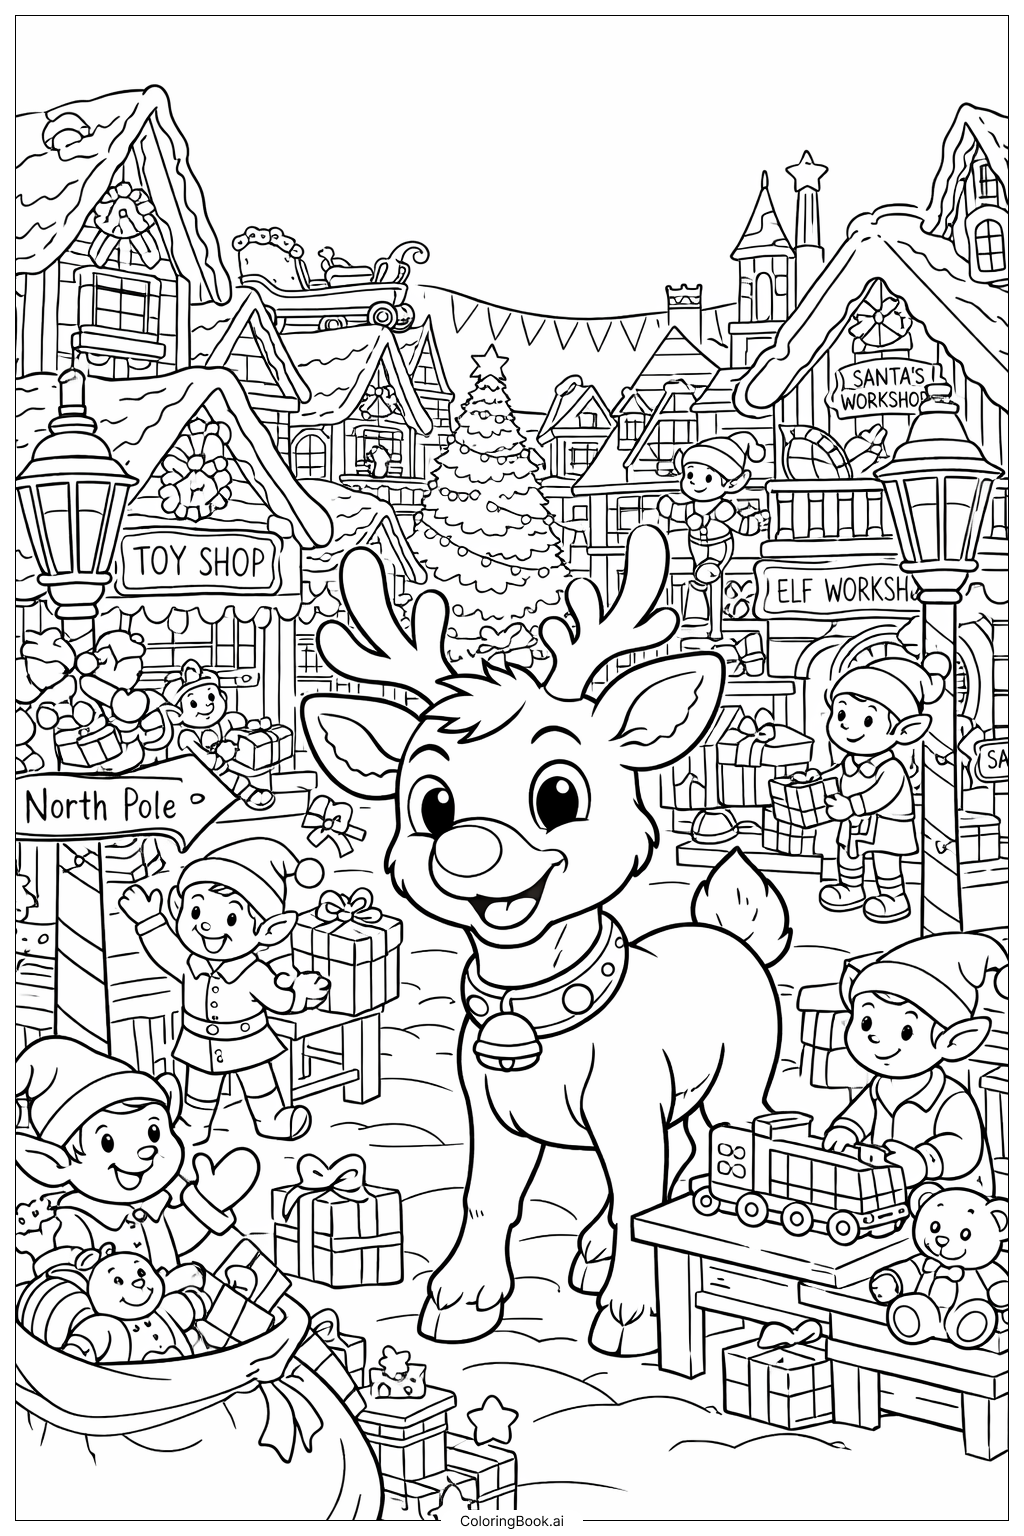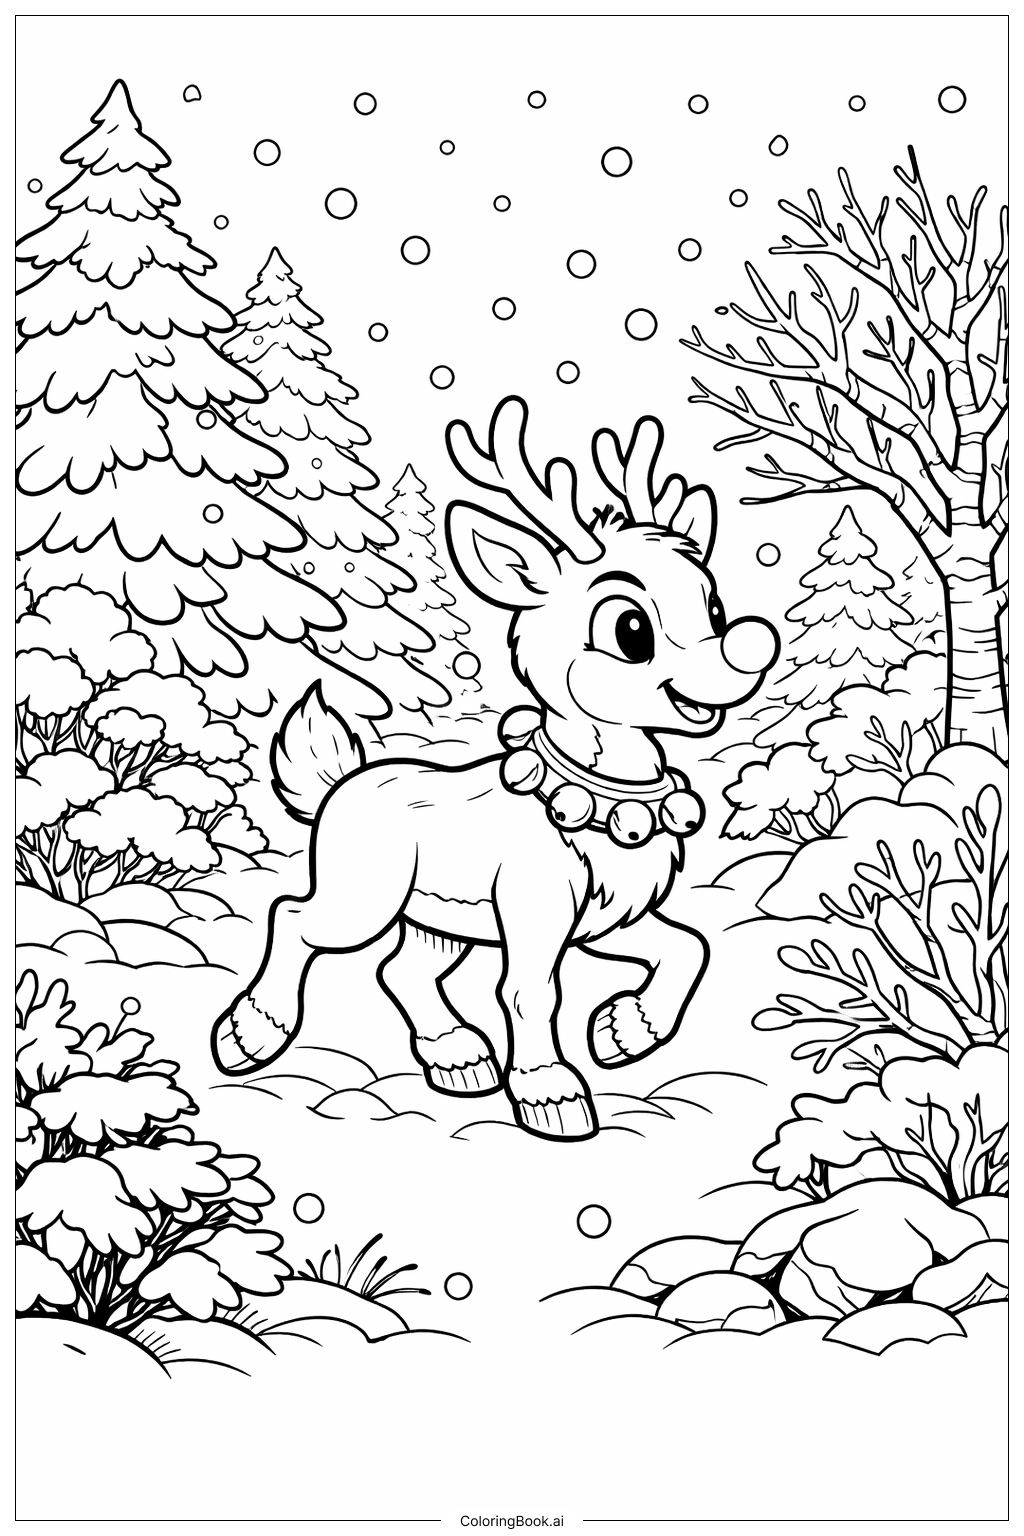
Coloring tips: How to color Rudolph In Winter Forest Scene coloring page well?
Start with Rudolph's body and use warm tan or light brown shades for his fur. His iconic nose should be colored in a bright, vivid red to make it stand out. Use darker brown tones for his antlers to give them a natural, woody look. For his eyes, try deep brown with a tiny white highlight dot to add life and shine. Color the pine trees in rich dark green, and add white or pale blue on the branches to suggest snow. The sky can be a deep midnight blue or soft purple to capture a winter night feel. Use light blue and white for the snow on the ground. Scatter silver or light yellow tones where moonlight touches the scene. Feel free to add your own colors to the snowflakes to make the picture feel extra magical and personal.
Coloring challenges: Which parts are difficult to color and need attention for Rudolph In Winter Forest Scene coloring page?
• Rudolph's Fur Texture: Rudolph's body has overlapping fur lines and subtle curves that suggest volume. Staying within these fine lines while blending light and dark brown tones to create a realistic, fluffy look can be tricky, especially for younger colorists. Take your time and use short, gentle strokes.
• The Glowing Red Nose: Getting the nose to look like it is truly glowing is one of the biggest challenges. A flat red circle can look dull. Try layering a bright red in the center and blending outward into orange or pink tones to mimic a soft glow effect around the edges.
• Snow-Covered Pine Trees: The pine trees have many layered branches, each dusted with snow. Coloring both the green needles and the white snow on top without muddying the two colors requires careful control. Work from the tips of the branches inward, and let each section dry before adding the next if using wet media.
• Complex Background Details: The background includes a moon, drifting snowflakes, distant trees, and a forest floor with scattered pinecones and animal tracks. Managing so many small elements without making the scene feel cluttered takes patience. Consider using lighter, softer tones for background details so Rudolph remains the visual focus.
• Depth and Lighting: The moonlight and Rudolph's glowing nose both act as light sources. Showing how this light falls across the snow, trees, and Rudolph himself is a subtle but rewarding challenge that helps the scene feel three-dimensional and alive.
Benefits of coloring books: Advantages of drawing Rudolph In Winter Forest Scene coloring page
Coloring this Rudolph In Winter Forest Scene page offers a wide range of wonderful benefits for children and families alike. Bringing a beloved holiday character to life through color sparks creativity and imagination, letting kids make their very own version of a classic Christmas story. Choosing colors for snow, trees, and Rudolph's fur encourages artistic decision-making and builds confidence in personal expression. The detailed lines of the pine trees, snowflakes, and forest floor gently train fine motor skills and hand-eye coordination, which are important for writing and other daily tasks. Focusing on staying within the lines and blending colors helps children practice concentration and patience in a fun, low-pressure way. Coloring is also wonderfully calming. It gives kids a quiet, screen-free activity that reduces stress and promotes a sense of relaxation. Completing the page gives a real sense of achievement and pride. Sharing the finished artwork with family members during the holiday season adds a warm, personal touch to Christmas celebrations. For adults joining in, it is a nostalgic and meditative activity that reconnects them with the joy and wonder of childhood. Overall, this page turns a simple coloring session into a meaningful, memorable, and skill-building creative experience.