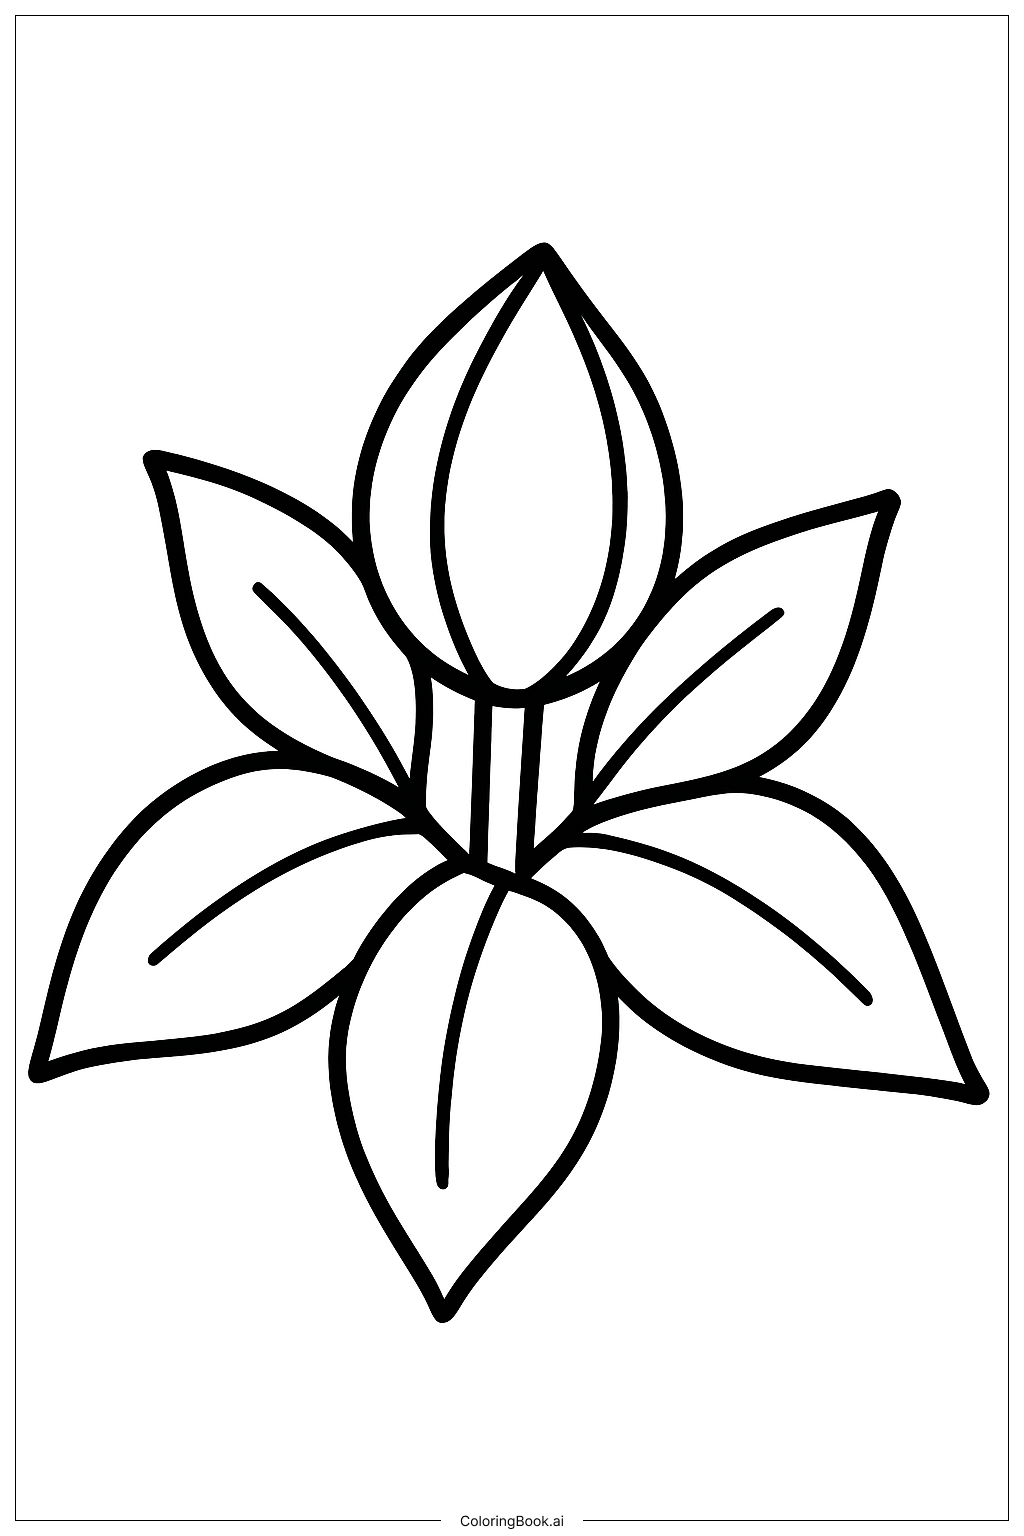
Coloring tips: How to color Simple Poinsettia Bud Emerging coloring page well?
Start with the bud at the center. Use a soft yellow-green or pale cream color to show that it is young and fresh. For the large leaves around the bud, try a rich green like forest green or emerald. You can make some leaves lighter and some darker to add depth. The leaf veins can be colored in a slightly lighter or darker shade of green to make them stand out. For a festive holiday look, color the upper bracts — the petal-like leaves — in bright red or deep crimson. You can also try pink, white, or even orange for a fun twist. The stem looks great in a medium brown or olive green. Add a light shadow under the leaves to give the image a soft, three-dimensional feel. If you want a warm, glowing effect, use yellow near the center of the bud and blend outward. Take your time and enjoy the process. There is no wrong way to color it!
Coloring challenges: Which parts are difficult to color and need attention for Simple Poinsettia Bud Emerging coloring page?
• Coloring the Tiny Bud: The bud at the center of the image is very small. It has curved lines packed closely together, which makes it tricky to fill with color without going outside the lines. Use a fine-tipped colored pencil or a thin marker to stay within the small shapes. Work slowly and carefully for the best results.
• Leaf Vein Details: Each leaf has a main vein running down the middle and smaller veins branching outward. Coloring around these veins without covering them takes patience. You can leave the veins as white outlines or color them in a lighter tone. Either way, it requires a steady hand and good control of your coloring tool.
• Creating Depth with Similar Colors: The leaves and stem are all green, which can make the image look flat if you use just one shade. The challenge is using different shades of green — light, medium, and dark — to show which leaves are in front and which are behind. This kind of shading takes practice but makes the final result look much more realistic.
• Smooth Coloring on Large Leaf Areas: The broad leaves have large open spaces that need to be filled in evenly. If you press too hard or move the pencil in only one direction, the color can look streaky or uneven. Try using gentle circular strokes or layering thin coats of color to build up a smooth, even finish.
• Blending Near the Center: Close to the bud, the colors of the leaves and the bud itself need to blend naturally. If the transition is too sharp, it can look disconnected. Try softening the edges where two colors meet by lightly layering one color over the other.
Benefits of coloring books: Advantages of drawing Simple Poinsettia Bud Emerging coloring page
Coloring this simple poinsettia bud page offers a wonderful range of benefits for kids and teens alike. First, it builds fine motor skills. Staying inside the leaf veins and tiny bud outline requires careful hand movements, which helps strengthen grip and hand control over time. Second, it encourages focus and patience. The details in the leaves and bud ask you to slow down and pay attention, which is great practice for staying calm and concentrated. Third, it sparks creativity. Choosing your own color combinations — whether realistic greens and reds or imaginative purples and blues — lets you express yourself freely. There are no wrong answers, just your own unique style. Fourth, it teaches color theory in a fun way. Experimenting with light and dark shades to create depth and shadow is a hands-on introduction to how artists think about color. Fifth, it connects you to nature. Learning about the poinsettia plant while coloring it builds curiosity about the natural world. Finally, finishing the page gives a real sense of accomplishment. Seeing a beautiful, fully colored flower is satisfying and boosts confidence. It is a relaxing, rewarding activity that anyone can enjoy.