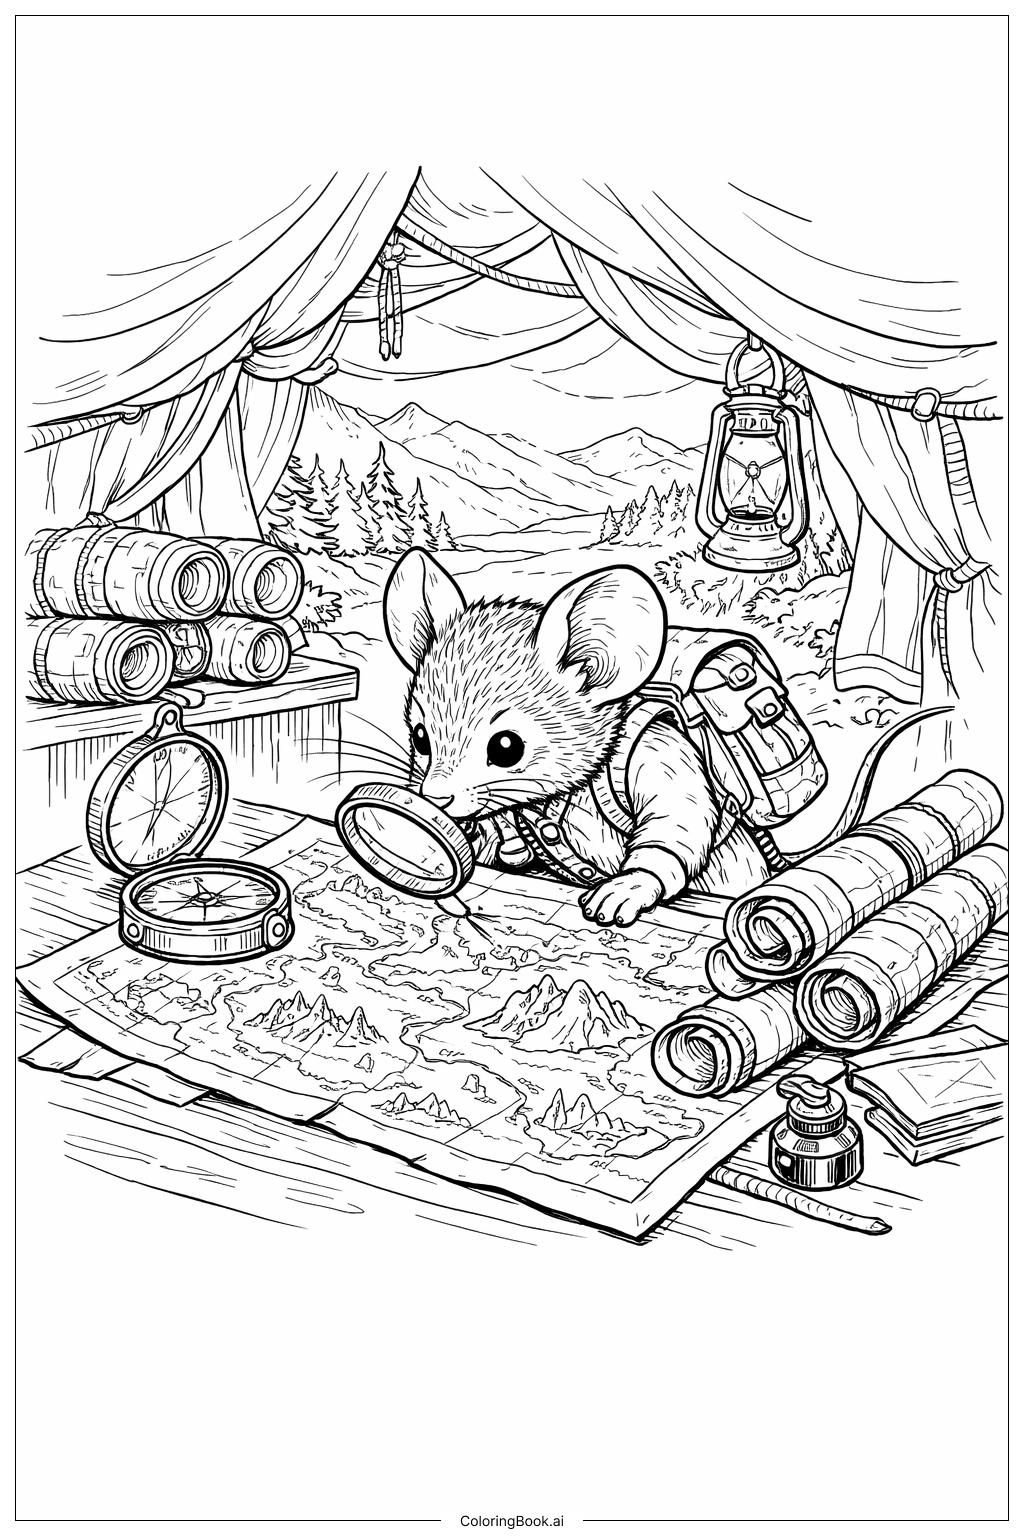
Coloring tips: How to color Mouse Explorer Map Journey coloring page well?
Use soft browns and grays for the mouse to make it look natural and cute. The tent fabric can be colored in warm shades like beige or light brown. Mountains in the background can be shades of blue and gray. Trees can be different greens to show depth. The maps and scrolls can be cream or light yellow to look like old paper. For the compasses and lantern, use metallic colors such as silver, bronze, or gold. Add shadows under objects to give a sense of space. Feel free to use bright colors for the backpack and lantern to make them stand out and add a pop of color to the picture.
Coloring challenges: Which parts are difficult to color and need attention for Mouse Explorer Map Journey coloring page?
1. Small details on the mouse’s fur need careful coloring to keep it neat. 2. The rolled-up maps have curved lines that require steady handwork to stay inside the edges. 3. The compasses and lantern have tiny parts that require precision to color properly. 4. The background mountains and trees need soft color blending to create a natural look without harsh edges. 5. Balancing the color contrast between the tent’s fabric and the items inside without making the picture too busy can be tricky.
Benefits of coloring books: Advantages of drawing Mouse Explorer Map Journey coloring page
Coloring this picture helps children improve fine motor skills because of the small details. It encourages focus and patience while coloring different textures and objects. The scene stimulates imagination, making kids think about adventures and exploration. Using various colors helps kids learn color mixing and shading. Overall, it’s a fun and calming activity that develops creativity and hand-eye coordination.