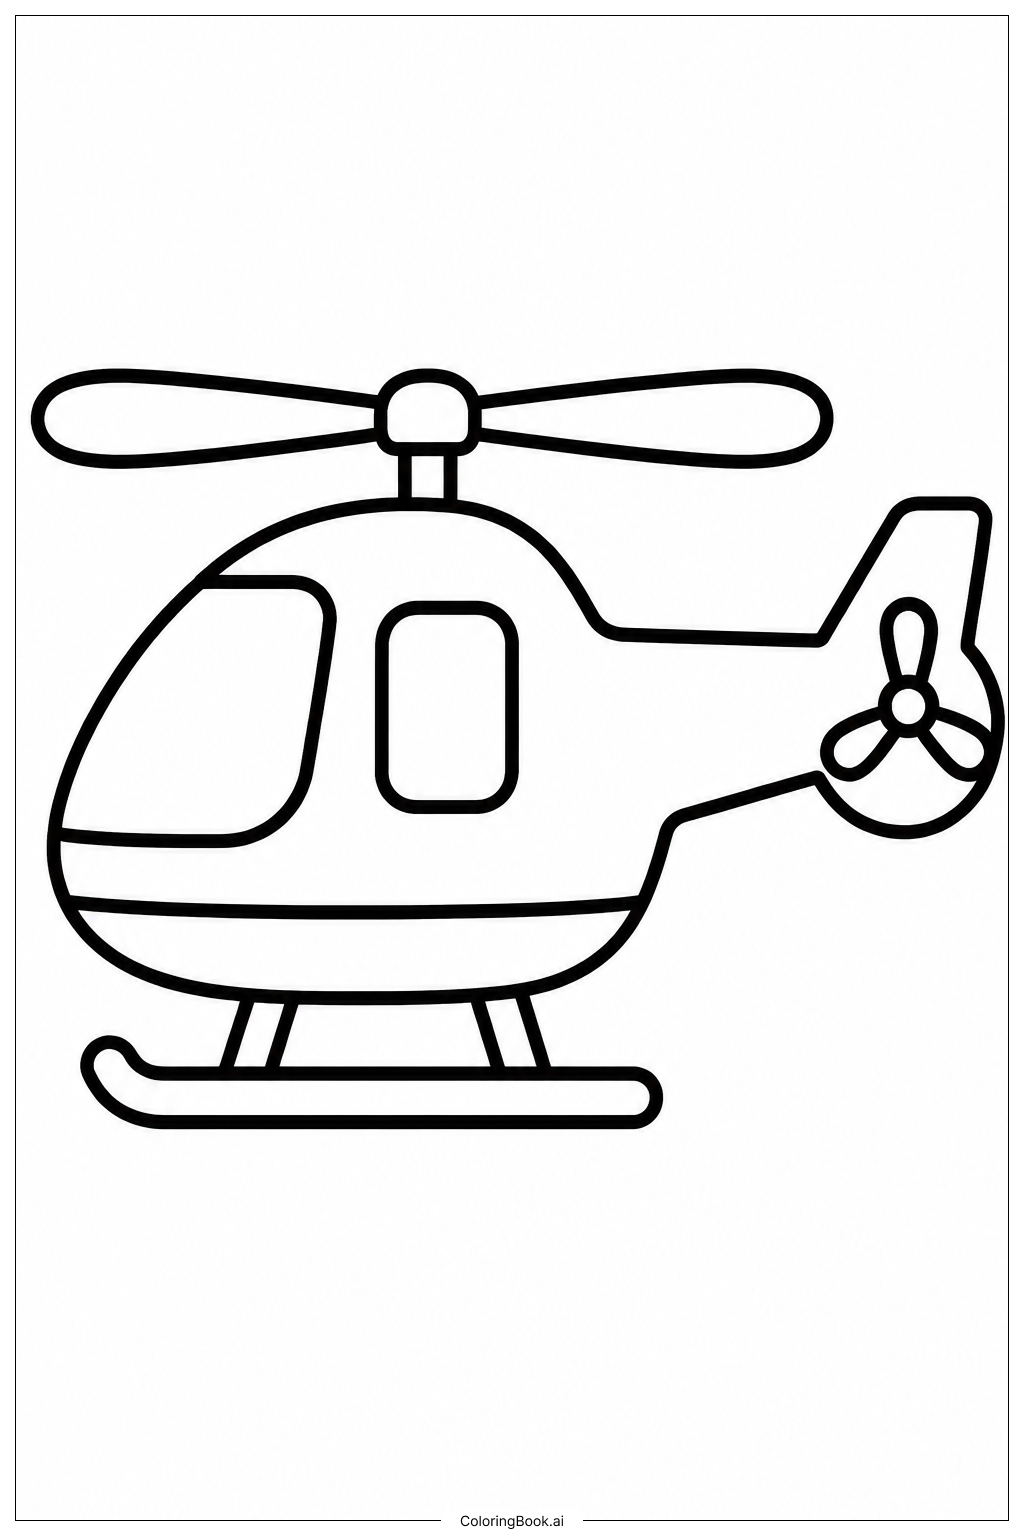
Coloring tips: How to color Helicopter Side View coloring page well?
Start with the main body of the helicopter. You can use a bold color like red, blue, or yellow to make it stand out. Try a darker shade for the lower fuselage and a lighter tone for the upper section to create depth. Use gray or silver for the rotor blades and metallic parts like the landing skids. The cockpit windows look great in light blue or sky blue to suggest glass and sky reflection. Add a dark outline around panel lines to give the helicopter a more realistic look. Use black or dark gray for small details like rivets, bolts, and mechanical joints. Feel free to mix colors and create your own unique helicopter design. There are no rules — just have fun and let your imagination take flight!
Coloring challenges: Which parts are difficult to color and need attention for Helicopter Side View coloring page?
• Rotor Blade Precision: The main rotor and tail rotor blades are long, thin, and closely spaced. Staying within the narrow outlines without smudging into neighboring sections requires a fine-tipped coloring tool. Colored pencils or thin markers work best here. Take your time and use light strokes to fill each blade evenly.
• Cockpit Window Shading: The large curved cockpit windows can be tricky to color realistically. Achieving a smooth gradient from light to slightly darker blue — to suggest glass and reflection — needs careful blending. Avoid pressing too hard in one spot, as this can create uneven patches of color.
• Panel Lines and Surface Details: The fuselage has multiple panel lines, rivets, and mechanical seams etched across its surface. Coloring around these small details without accidentally crossing the lines takes patience. Using a sharp pencil tip or a fine liner marker helps keep each section neat and distinct.
• Landing Skid Structure: The landing skids are made up of thin tubes and support struts arranged at angles beneath the body. These small geometric shapes are easy to accidentally overlap with the belly of the helicopter. Work slowly and consider using a metallic gray or silver to distinguish the skids from the main body.
• Tail Boom Transition: The tail boom narrows as it extends toward the rear of the helicopter. Smoothly transitioning the body color into the tail section without visible streaks or harsh color breaks requires steady hand control. Blending two close shades of the same color can help create a natural, flowing look along this area.
Benefits of coloring books: Advantages of drawing Helicopter Side View coloring page
Coloring this helicopter side view offers a wide range of benefits for kids and beginners alike. First, it builds fine motor skills. Carefully filling in the rotor blades, panel lines, and small mechanical parts trains the hands and fingers to make precise, controlled movements — a skill that helps with writing and drawing too. Second, it encourages focus and patience. A detailed image like this one asks colorists to slow down, observe carefully, and work section by section. This kind of calm, focused activity is great for reducing stress and improving concentration. Third, it sparks curiosity about how helicopters work. As children color each part — the cockpit, rotors, tail boom, and skids — they naturally start to wonder what each piece does. This can inspire interest in aviation, engineering, and science. Fourth, it supports creativity. Choosing colors and designing a unique helicopter paint scheme gives kids a sense of ownership and pride in their work. Finally, completing a detailed coloring page builds confidence. Finishing something step by step shows children that big tasks become easy when taken one small piece at a time.