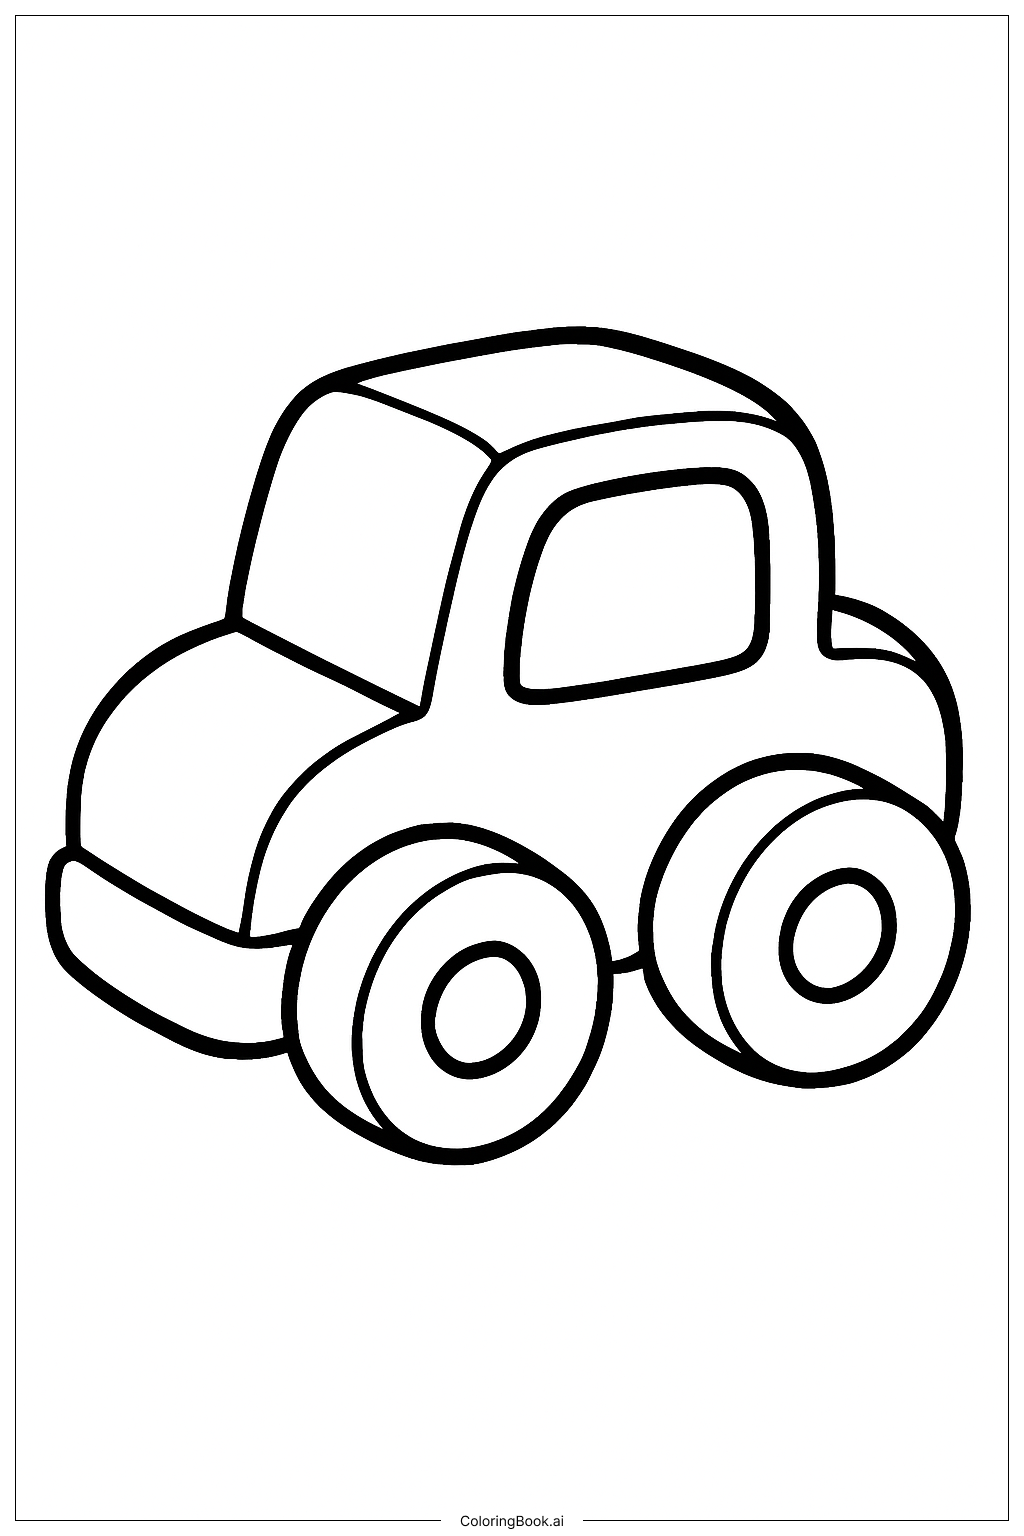
Coloring tips: How to color Toy Block Car coloring page well?
Start with the largest sections of the car body. Pick bright, bold colors like red, blue, or yellow — these look great on toy block designs. Use a different color for each layer of blocks to show how the pieces stack together. For example, color the bottom row blue, the middle row red, and the top row yellow. Make the wheels dark gray or black with a lighter gray for the hubcaps. Use a light blue or white for the windows to give them a glassy look. Add small color accents to the block studs on top to make them pop. You can also follow a rainbow pattern across the blocks to give the car a playful, fun appearance. Keep your colors inside the thick outlines. Take your time with the smaller block details near the front and back of the car.
Coloring challenges: Which parts are difficult to color and need attention for Toy Block Car coloring page?
• Block Stud Details: The tiny circular studs covering the top of each block section are very small and close together. Staying inside each stud without going over the lines requires a fine-tipped colored pencil or marker. Using a crayon in this area may be too thick and can smudge neighboring studs.
• Color Consistency Across Blocks: Each block piece should ideally have its own consistent color without bleeding into adjacent pieces. Because the blocks are packed tightly next to one another, keeping clean borders between different colored sections can be tricky, especially for younger colorists.
• Wheel Shading and Roundness: The circular wheels have curved edges that can be hard to fill evenly. Creating a smooth, rounded look requires careful strokes that follow the curve of the wheel. Flat or streaky coloring can make the wheels look unfinished or two-dimensional.
• Depth and Shadow on Stacked Layers: To make the car look truly three-dimensional, lighter and darker shades of the same color should be applied to top and side faces of each block. Understanding which face catches light and which is in shadow is a challenge for beginners but adds a lot of realism to the finished piece.
• Small Front and Rear Details: The bumper area, headlights, and block edges near the front and back of the car contain very tight line work. These narrow spaces are easy to accidentally color over, and require steady hands and thin coloring tools to complete neatly.
Benefits of coloring books: Advantages of drawing Toy Block Car coloring page
Coloring this Toy Block Car page brings a range of wonderful benefits for kids and young learners. Working through the many individual block sections helps build fine motor skills and hand-eye coordination, especially when filling in small stud details and tight edges. Choosing colors for each block encourages creative thinking and decision-making. Kids learn to plan ahead as they decide which colors go next to each other to keep the design looking clear and fun. The repetitive nature of coloring block after block also builds focus and patience. For children who love building toys, this page connects a familiar, beloved theme to a creative activity, making it more engaging and enjoyable. Thinking about how to shade the sides of blocks to show depth introduces basic concepts of light and shadow in a playful, low-pressure way. Completing the full page gives kids a strong sense of accomplishment and pride. It also makes a great display piece. Overall, this coloring page blends artistic creativity with logical thinking, making it a rewarding experience for Boys and Girls alike.