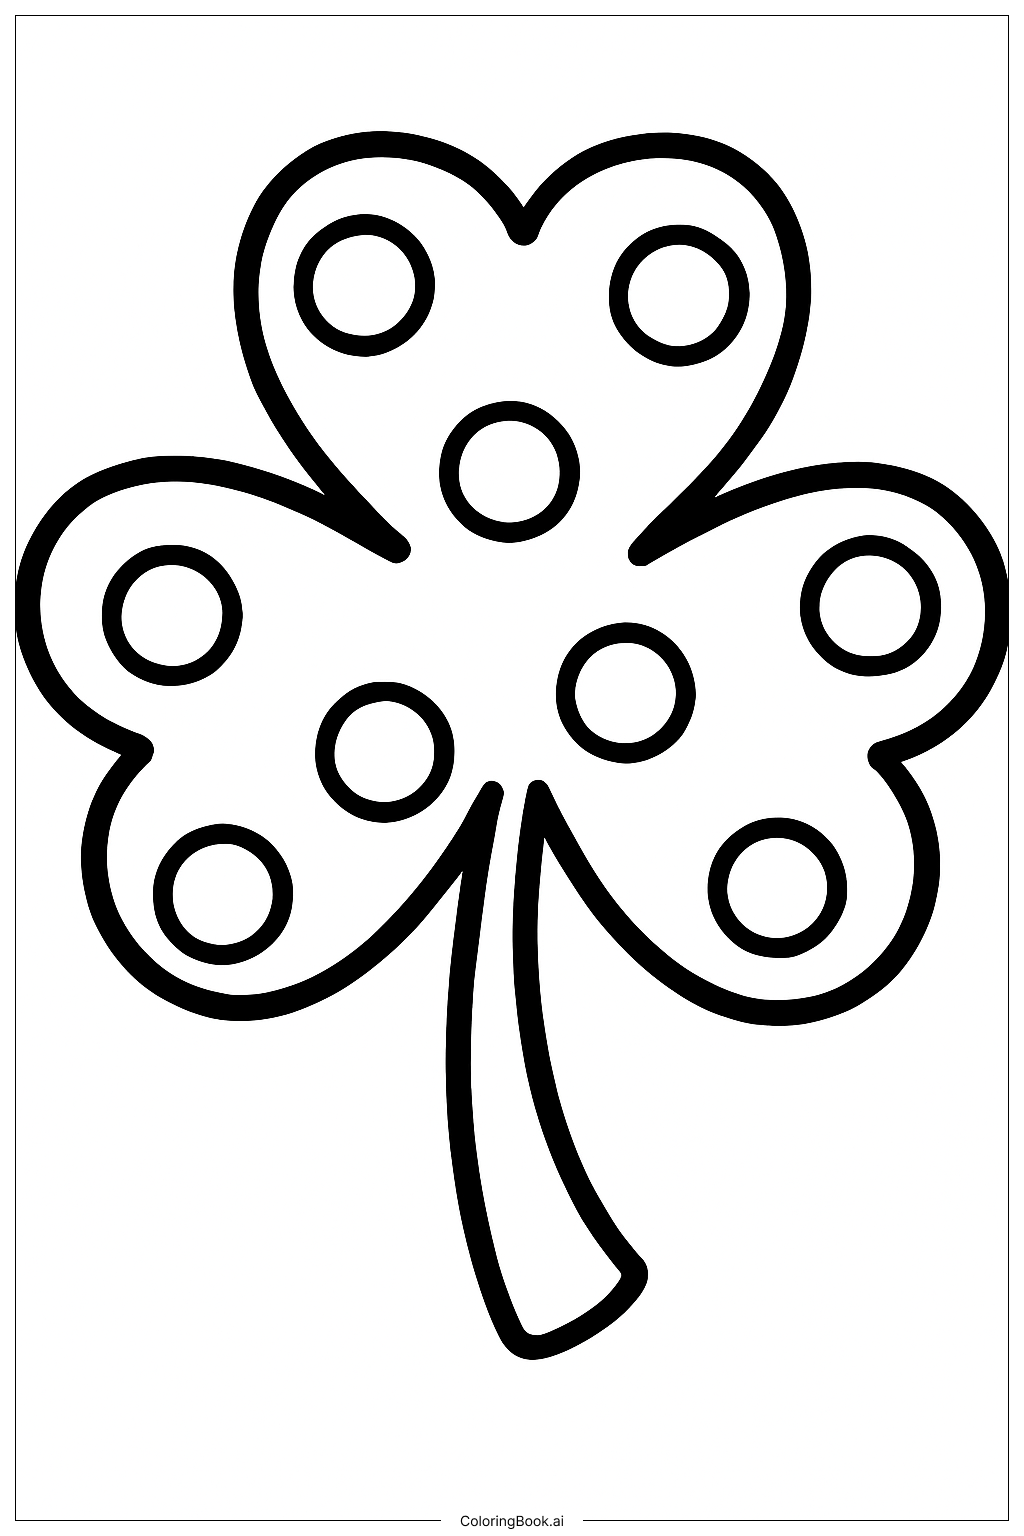
Coloring tips: How to color A Shamrock With Polka Dots coloring page well?
Try using different shades of green for the shamrock leaves to create a natural look. You can fill the polka dots with bright colors like yellow, red, or blue to make them stand out. Use crayons, colored pencils, or markers for smooth coloring in the circles and leaves. It’s fun to experiment with patterns — for example, try coloring each leaf a different green shade or fill some dots with stripes or dots of different colors. Light colors can be used inside the circles to make them look like bubbles. Coloring the stem with a brown or darker green can add a nice touch of realism.
Coloring challenges: Which parts are difficult to color and need attention for A Shamrock With Polka Dots coloring page?
1. Coloring inside small polka dots can be tricky, as they need precise coloring to avoid going outside the lines.
2. Filling the shamrock leaves evenly with color requires good control to keep the colors smooth and consistent.
3. Choosing different colors that look good together can be challenging, especially for younger children.
4. Avoiding mixing colors when coloring near the edges of the leaves and circles to keep the picture neat.
5. Deciding how to color the stem differently from the leaves without making the colors clash may need some planning.
Benefits of coloring books: Advantages of drawing A Shamrock With Polka Dots coloring page
Coloring this shamrock with polka dots helps improve hand-eye coordination and fine motor skills as children carefully color inside the lines. It encourages creativity by letting kids pick different colors and patterns for the leaves and dots. Coloring also promotes focus and patience as the dots and large leaves require attention to detail. Learning about shamrocks gently introduces cultural symbols and fun traditions like St. Patrick’s Day. Overall, this activity offers both artistic practice and a fun way to explore color and design.