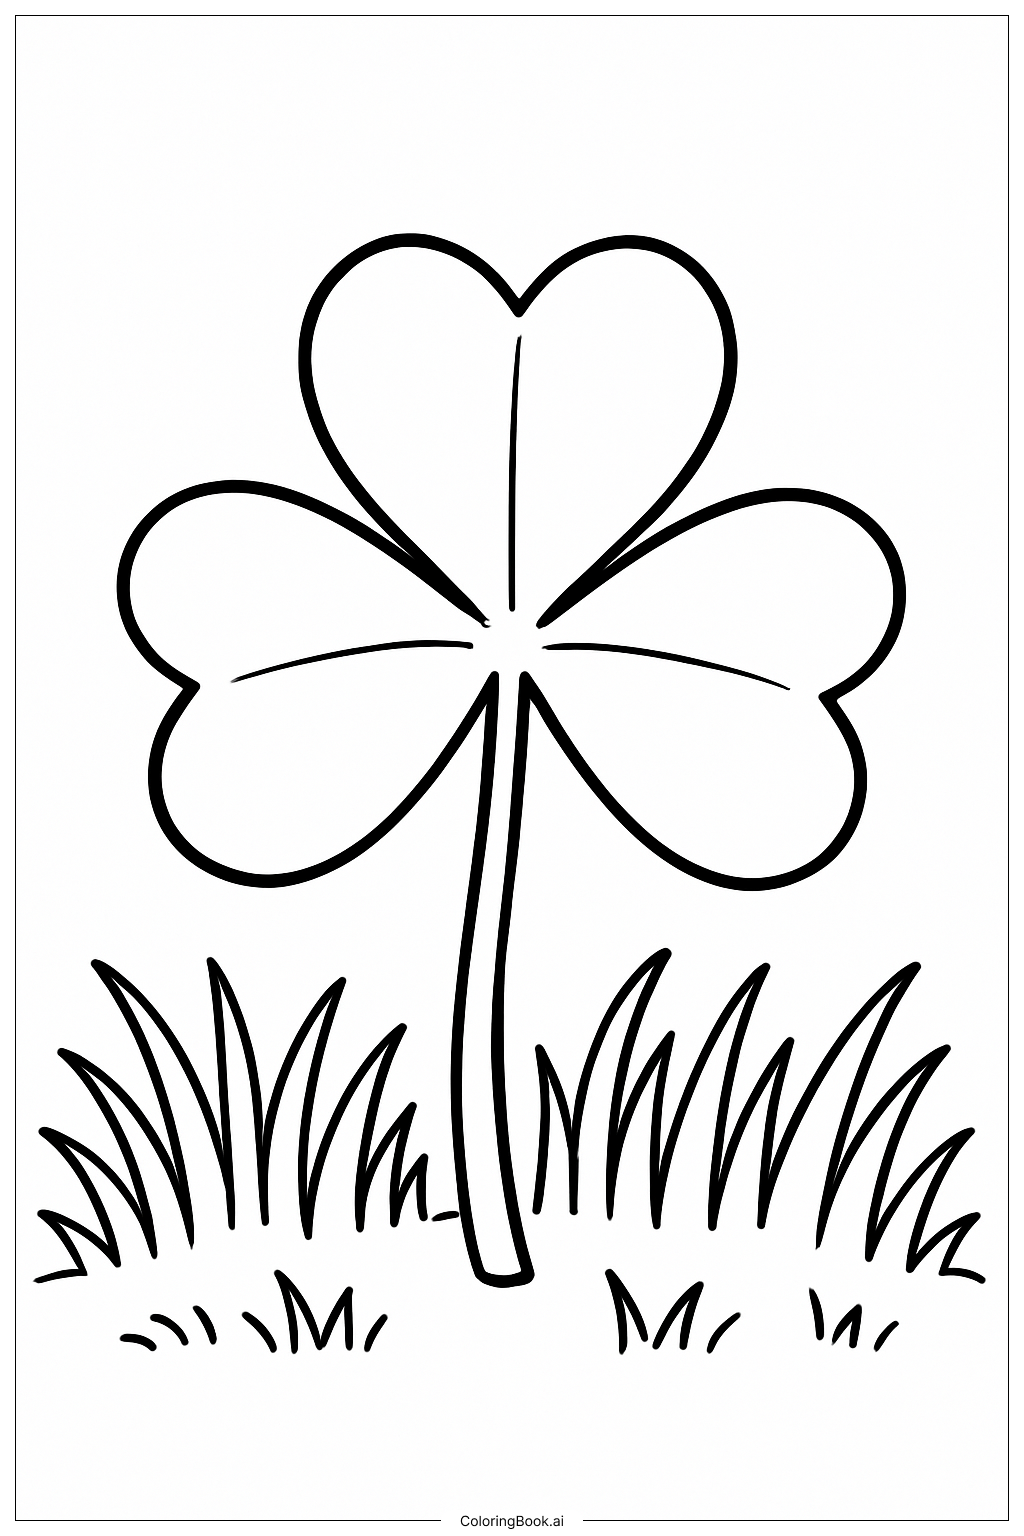
Coloring tips: How to color A Realistic Shamrock In A Grassy Field coloring page well?
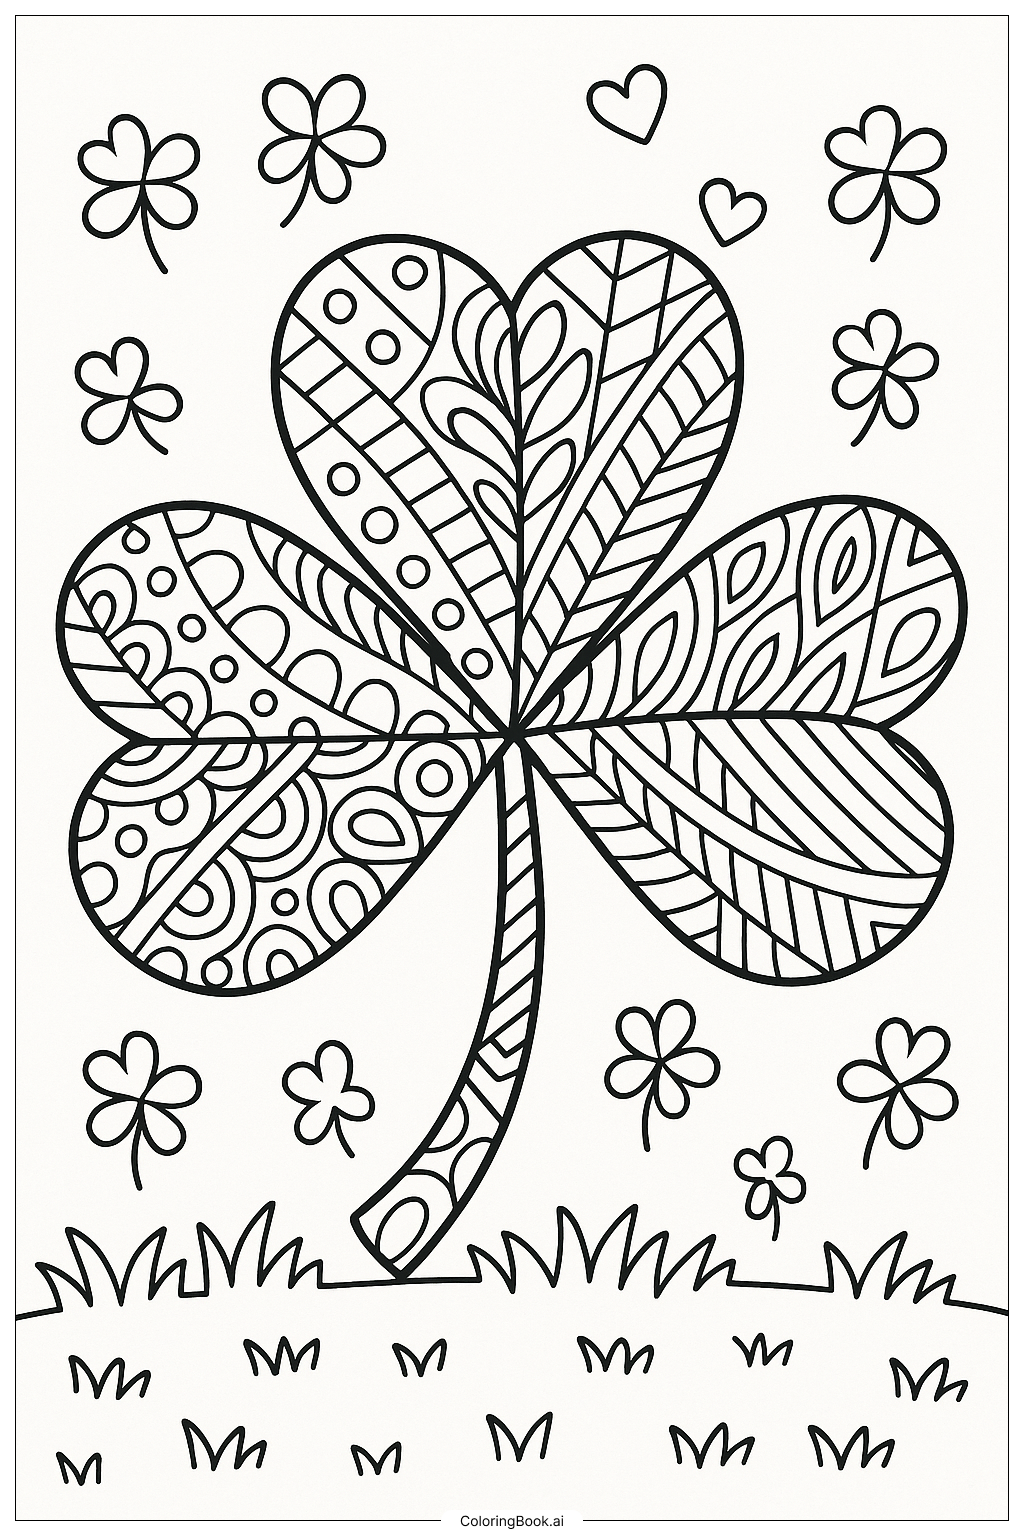
Start with the shamrock leaves using a bright, medium green as your base color. Then add a lighter yellow-green along the edges and the areas where sunlight would hit the leaf. Use a darker forest green near the center and in the shadowed parts between the leaflets to give the shamrock a full, round, three-dimensional look. For the stem and stalks, use a slightly more yellow-brown green to set them apart from the leaves. The grass field in the background works best with a mix of greens — try alternating between bright green and olive green for individual blades to create depth and variety. You can leave a few grass tips lighter or even pale yellow to suggest sunlight shining through. If you want to add extra realism, lightly shade the underside of the shamrock leaves with a cooler, darker green. Colored pencils are great for this image because they allow smooth blending. Take your time and enjoy the process!
Coloring challenges: Which parts are difficult to color and need attention for A Realistic Shamrock In A Grassy Field coloring page?
• Leaf Vein Details: The shamrock leaves contain fine, delicate veins running from the center stem outward to the edges of each leaflet. Staying within these thin lines while adding color requires a steady hand and a sharp, fine-tipped colored pencil or marker. Young colorists may find it tricky to avoid smudging or going outside these narrow boundaries.
• Layered Green Shades: A realistic shamrock is not just one flat green. The leaves show lighter and darker areas depending on where light falls. Blending multiple shades of green — from bright lime to deep forest green — to create a natural, three-dimensional look is a key challenge. Without blending, the image may look flat or cartoonish rather than realistic.
• Grass Field Complexity: The background grassy field contains many individual grass blades of varying heights and angles. Coloring each blade separately while keeping the field looking natural and not too uniform takes time and patience. Colorists need to vary their pressure and direction to make the grass feel lively and organic.
• Stem and Stalk Precision: The thin central stem and the smaller stalks connecting each leaflet are narrow and easy to accidentally color over. Keeping these areas clean and distinct from the leaves around them demands careful control, especially when using broader markers or crayons.
• Overall Color Harmony: Tying the shamrock and the grassy background together into a cohesive, visually pleasing scene requires thoughtful color choices. Using too many contrasting greens can make the image look chaotic, while too few shades can make it look dull. Finding the right balance is the final creative challenge of this coloring page.
Benefits of coloring books: Advantages of drawing A Realistic Shamrock In A Grassy Field coloring page
Coloring this image of a realistic shamrock in a grassy field offers many wonderful benefits for children and young learners. First, it helps improve fine motor skills as kids carefully fill in the small leaflets and detailed grass blades. Second, it encourages focus and patience, since the image has many areas that require steady hands and careful attention. Third, coloring nature scenes like this one helps children learn about plants and the natural world in a fun and engaging way. It also sparks creativity, as kids can choose their own shades of green, experiment with light and shadow, and make the scene feel alive. Coloring is also calming and relaxing, making it a great activity after a busy school day. Sharing and comparing finished pages with friends or family builds confidence and encourages conversation. Overall, this shamrock coloring page is a wonderful blend of art, nature, and learning that benefits kids of all ages.