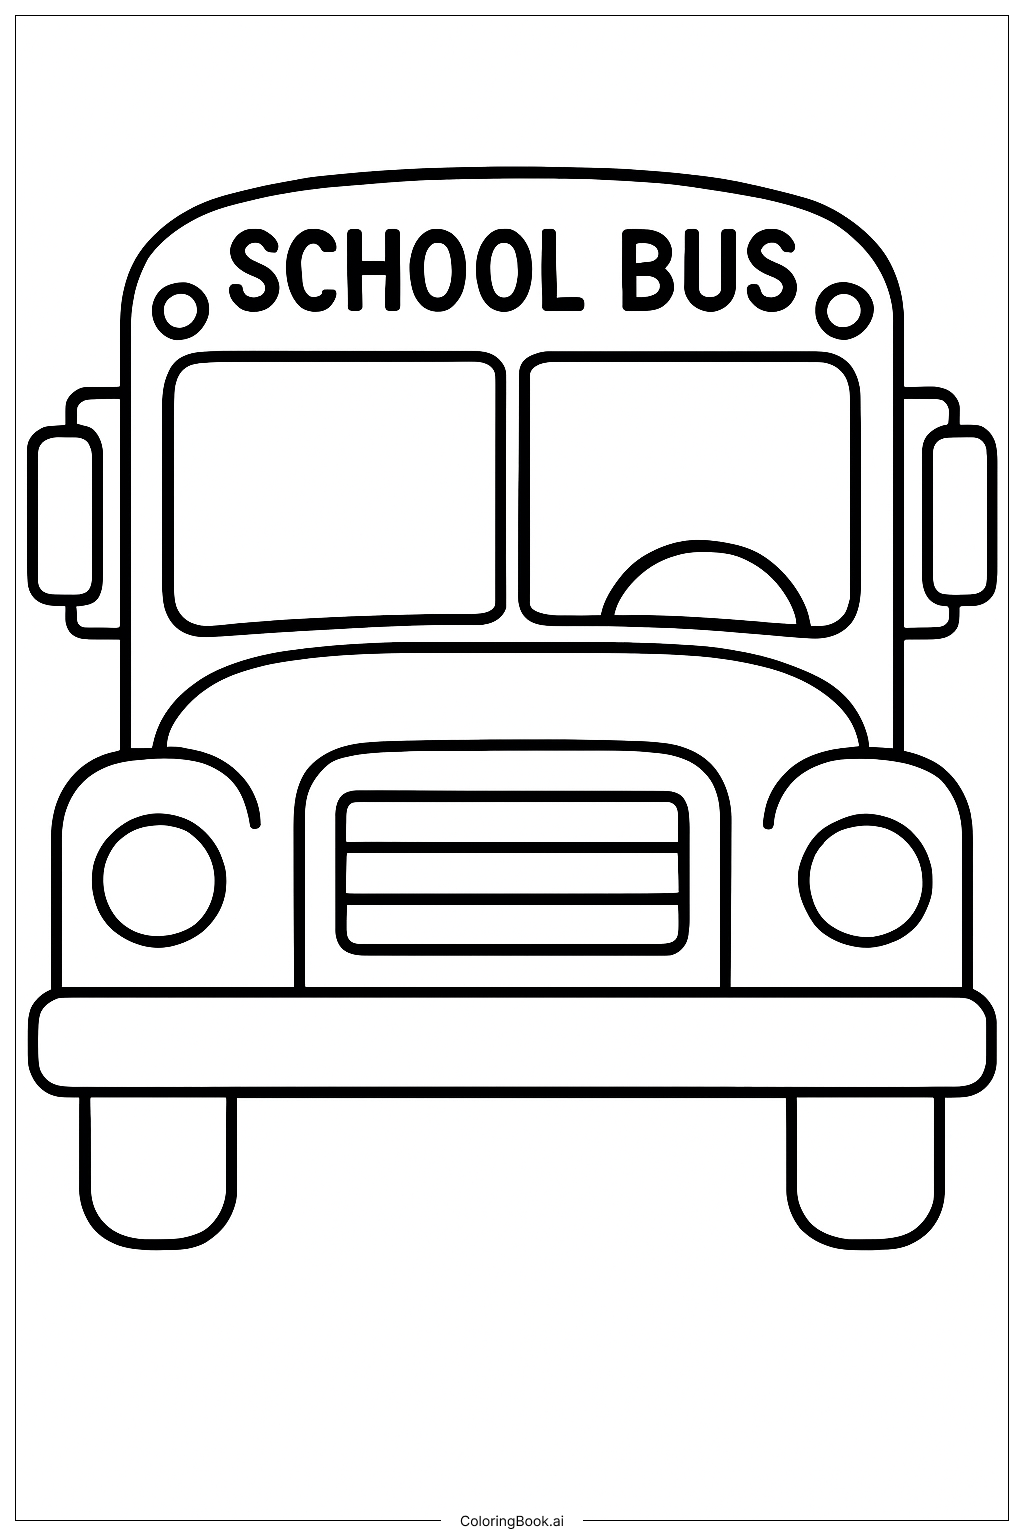
Coloring tips: How to color The Front of a School Bus coloring page well?
Start with the main body of the bus using a bright, classic yellow. This is the most iconic color for a school bus, and it will make your picture really pop. Use a slightly darker yellow or orange-yellow for shadows along the edges of the hood and body panels to give the bus some depth. Color the grille with silver or light gray, and add some darker gray between the grille slats to show detail. The headlights look great in white or pale yellow, with a thin outline in gray or blue. Use black or very dark gray for the bumper and tires if visible. The windshield can be colored with a light blue or pale sky tone to suggest glass. The side mirrors can be silver or gray. Feel free to add your own creative touches, like a school name on the front or fun patterns on the bumper. Take your time filling in each section carefully, staying within the lines for a neat, polished result.
Coloring challenges: Which parts are difficult to color and need attention for The Front of a School Bus coloring page?
• Grille Detail Work: The front grille of the school bus contains multiple narrow slats or bars that are closely spaced together. Coloring each individual bar without accidentally bleeding into the spaces between them requires a fine-tipped coloring tool. This section demands patience and a steady hand, especially for younger children. Using a thin marker or a sharpened colored pencil will make this step much more manageable.
• Headlight Shading: The two large rectangular headlights may seem simple at first, but creating a realistic glass effect takes some skill. Leaving a small white highlight in one corner while blending light blue or white toward the edges can give the headlights a shiny, three-dimensional look. Achieving this gradient without muddying the colors is a common challenge for beginners.
• Maintaining Consistent Yellow: Covering the large flat surfaces of the bus body evenly with yellow is trickier than it looks. Colored pencils in particular can leave streaky or uneven patches when used on bigger areas. Applying multiple light layers and blending in the same direction helps achieve a smooth, consistent tone across the hood and body panels.
• Small Structural Details: Features like the side mirrors, bumper edges, and windshield divider are small and closely positioned. These tiny elements are easy to accidentally overlap when coloring nearby areas. Working slowly from the center outward and using the tip of your coloring tool for precision near these parts will help keep each element distinct and clean.
Benefits of coloring books: Advantages of drawing The Front of a School Bus coloring page
Coloring the front of a school bus is a wonderfully engaging activity for kids and Adults alike. For younger children, it builds fine motor skills as they practice holding their tools and controlling their strokes within the lines. Staying inside the boundaries of the grille bars and headlights sharpens hand-eye coordination and develops the patience needed for detailed work.
For older kids and Adults, this image offers a satisfying creative challenge. Choosing the right shades, blending colors, and adding subtle shadows encourages artistic thinking and helps develop a personal coloring style.
Beyond the artistic benefits, this image connects children to something familiar from their everyday lives — the school bus. Recognizing and coloring a real-world object helps reinforce visual memory and strengthens the connection between art and daily experience. It can also spark conversations about transportation, road safety, and community.
Coloring is also a great way to unwind. Focusing on a calm, repetitive task like filling in large areas of yellow or carefully detailing the grille gives the mind a healthy break from screens and fast-paced activities. It encourages mindfulness and helps reduce stress, making it a positive habit for children and grown-ups to enjoy together.