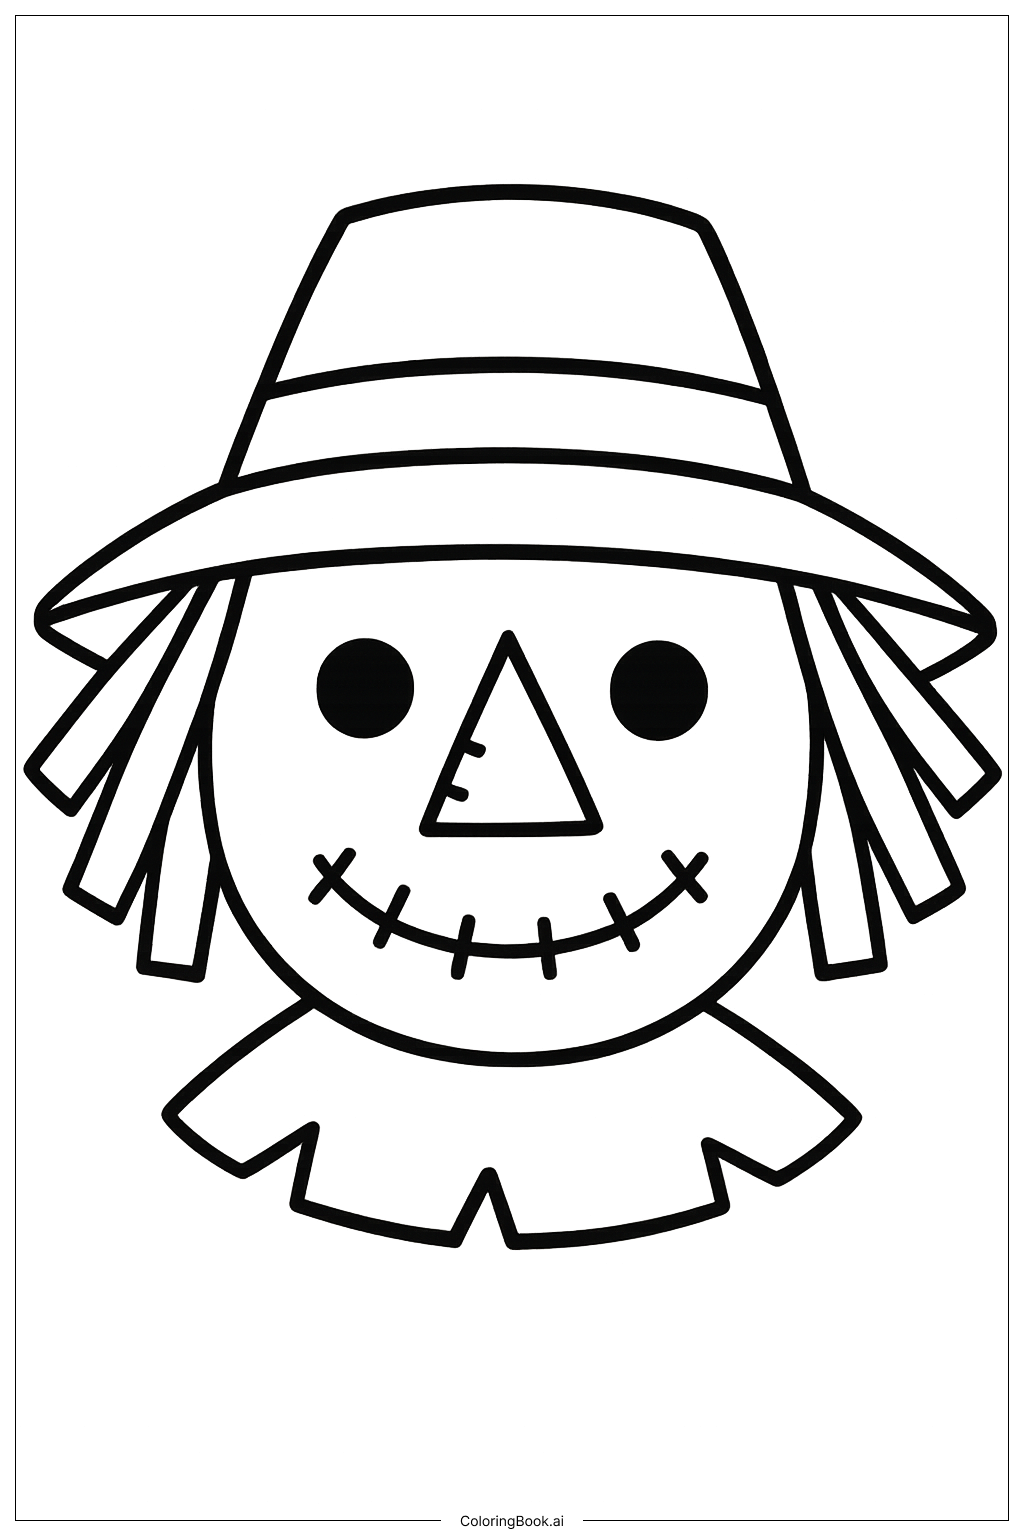
Coloring tips: How to color Scarecrow Face Close Up coloring page well?
Start with the hat using earthy tones like dark brown or faded black to give it a weathered look. Use tan, beige, or light brown for the burlap face to make it look like rough cloth. Color the stitched eyes with black or dark gray, and add a warm yellow or orange for a glow effect around them. Use golden yellow or pale straw color for the straw pieces sticking out. The patches on the hat can be colored in mismatched shades like olive green, rust red, or dark blue to show they are scraps of different fabrics. Keep the stitching lines in a slightly darker shade than the base fabric color. Feel free to add your own colors to make the scarecrow feel spooky or friendly — it is your choice. Light shading around the edges of the face can add depth and a three-dimensional feel.
Coloring challenges: Which parts are difficult to color and need attention for Scarecrow Face Close Up coloring page?
• Burlap Texture Replication: The scarecrow's face is meant to look like rough, woven burlap fabric. Capturing this texture with colored pencils or markers can be tricky. Try using short, criss-cross strokes in two slightly different shades of tan or beige to mimic the look of woven cloth. Layering colors lightly will help create that uneven, handmade feel.
• Stitching Detail Work: The face has many small stitched lines around the eyes, mouth, and patches. These lines are thin and close together, making them hard to color without accidentally going outside the lines. Use a very fine-tipped marker or a sharpened colored pencil to carefully follow each stitch. Take your time with these areas and work slowly.
• Hat Shading and Worn Effect: The wide-brimmed hat needs to look old and weathered, not flat and new. This means adding shadow under the brim, darker edges, and subtle color variation across the surface. Blending two or three shades of the same color family — like light brown, medium brown, and dark brown — will help achieve this realistic worn look.
• Straw Highlights: The straw poking out from under the hat and around the face should look light, dry, and slightly golden. It can be hard to keep straw pieces looking distinct and separate. Use thin strokes of yellow, pale gold, and light orange, and leave some areas lighter to show where light hits the straw.
• Contrast Between Patches: The patches on the hat are all meant to be different fabric scraps. Choosing colors that contrast enough to look separate without clashing with the overall color scheme takes careful planning. Lay out your color choices before you begin to make sure they work well together.
Benefits of coloring books: Advantages of drawing Scarecrow Face Close Up coloring page
Coloring this Scarecrow Face Close Up page offers many great benefits for kids and beginners alike. Because the image is a close-up, it fills the whole page with interesting details, giving you plenty of space to practice different coloring techniques without feeling overwhelmed by a complex scene.
Working on the textured surfaces — like the burlap skin and the stitched hat — helps build fine motor skills and hand control. Carefully coloring small stitching lines trains steady, precise hand movements that are useful in school and everyday tasks.
The image also encourages creative thinking. There is no single right way to color a scarecrow. You get to decide if yours looks friendly, spooky, funny, or mysterious just by choosing different colors and shading styles. This kind of open-ended creative choice builds confidence and imagination.
Focusing on a detailed image like this also supports concentration and patience. Staying within the lines and planning your color combinations requires focus, which is great practice for young learners.
Finally, completing a detailed coloring page gives a real sense of accomplishment. Seeing your finished scarecrow face — uniquely colored in your own style — is a rewarding experience that encourages kids to keep creating and exploring their artistic side.