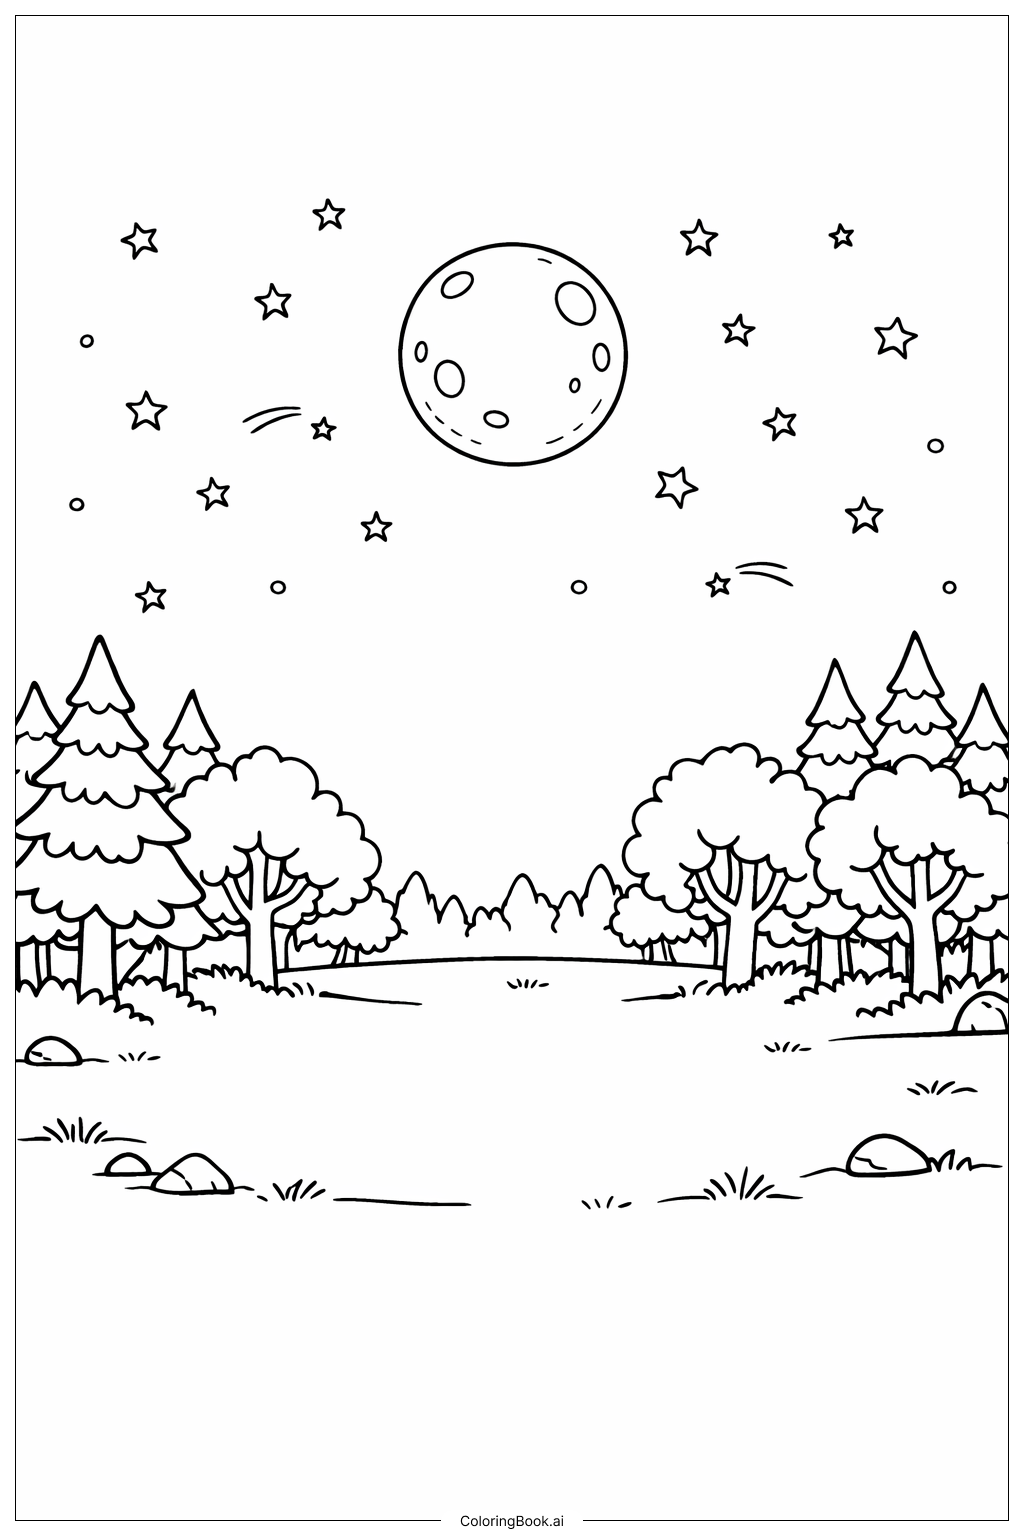
Coloring tips: How to color Forest Night Sky coloring page well?
Here are some fun and easy coloring suggestions for your Forest Night Sky page.
Start with the sky. Use dark blue or deep purple for the upper sky. Blend it gently down toward the treetops. You can add black near the very top for a deeper night feel.
For the stars, leave them white or color them pale yellow or soft gold. Use a light touch so they look like they are glowing. You can make some stars bigger and brighter than others.
Color the moon in soft white, cream, or pale yellow. Add a gentle orange or pink glow around it to show the moonlight spreading across the sky.
For the trees and forest, use very dark green, dark brown, or black for the silhouettes. Closer trees can be darker. Trees farther away can be slightly lighter to show depth.
If there is a ground or forest floor, try dark brown, gray, or deep green. Add a touch of light blue or silver to show moonlight landing on the earth.
Do not be afraid to mix colors. A night sky can have blue, purple, and dark teal all at once. Use colored pencils, crayons, or markers. Have fun and make it your own!
Coloring challenges: Which parts are difficult to color and need attention for Forest Night Sky coloring page?
Coloring this Forest Night Sky image comes with several interesting challenges that require care and skill.
• Dark Sky Gradients: The night sky needs to shift smoothly from deep navy at the top to slightly lighter tones near the treetops. Blending dark blues, purples, and blacks without creating harsh lines is tricky. Using layered strokes and gentle pressure helps achieve a soft, natural glow across the sky.
• Star Placement and Brightness: The many tiny stars scattered across the sky must stand out against the dark background. Leaving stars white or using a very light yellow requires careful planning. Coloring around each small circle without accidentally filling it in demands steady hands and sharp pencil tips.
• Tree Silhouettes and Depth: The tall forest trees create layered silhouettes in the foreground. Making closer trees darker and farther trees slightly lighter adds a sense of depth. Getting this right means thinking about distance and shadow, which can be a challenge for younger colorists.
• Moonlight or Glowing Effects: If the image includes a moon or light source, capturing its soft glow on the treetops and ground requires blending lighter tones outward from the center. This subtle lighting effect takes patience and control to look realistic.
• Small Details in Foliage: Individual leaves, branches, and pine needle clusters within the tree outlines are tiny and close together. Staying inside these small shapes without smudging nearby areas needs a fine-tipped tool and slow, careful work throughout the entire image.
Benefits of coloring books: Advantages of drawing Forest Night Sky coloring page
Coloring this Forest Night Sky page brings many wonderful benefits for kids and adults alike.
First, it helps children learn about nature. They discover how forests look at night and what stars look like in the sky. This builds curiosity about the natural world.
Second, it improves focus and patience. The detailed trees and star patterns ask you to slow down and pay attention. This is great practice for school and daily life.
Third, it sparks creativity. There is no single right way to color a night sky. Kids can try purple, dark blue, or even green skies. They can make the forest magical or realistic. This freedom builds confidence.
Fourth, it is calming and relaxing. Moving a crayon or colored pencil slowly across the page helps quiet a busy mind. Many children and Adults find this kind of activity soothing after a long day.
Fifth, it builds fine motor skills. Coloring small stars and thin tree branches strengthens the small muscles in the hands and fingers. This helps with writing and other daily tasks.
This page is a wonderful creative activity for Boys, Girls, and Adults who love the beauty of the night forest.