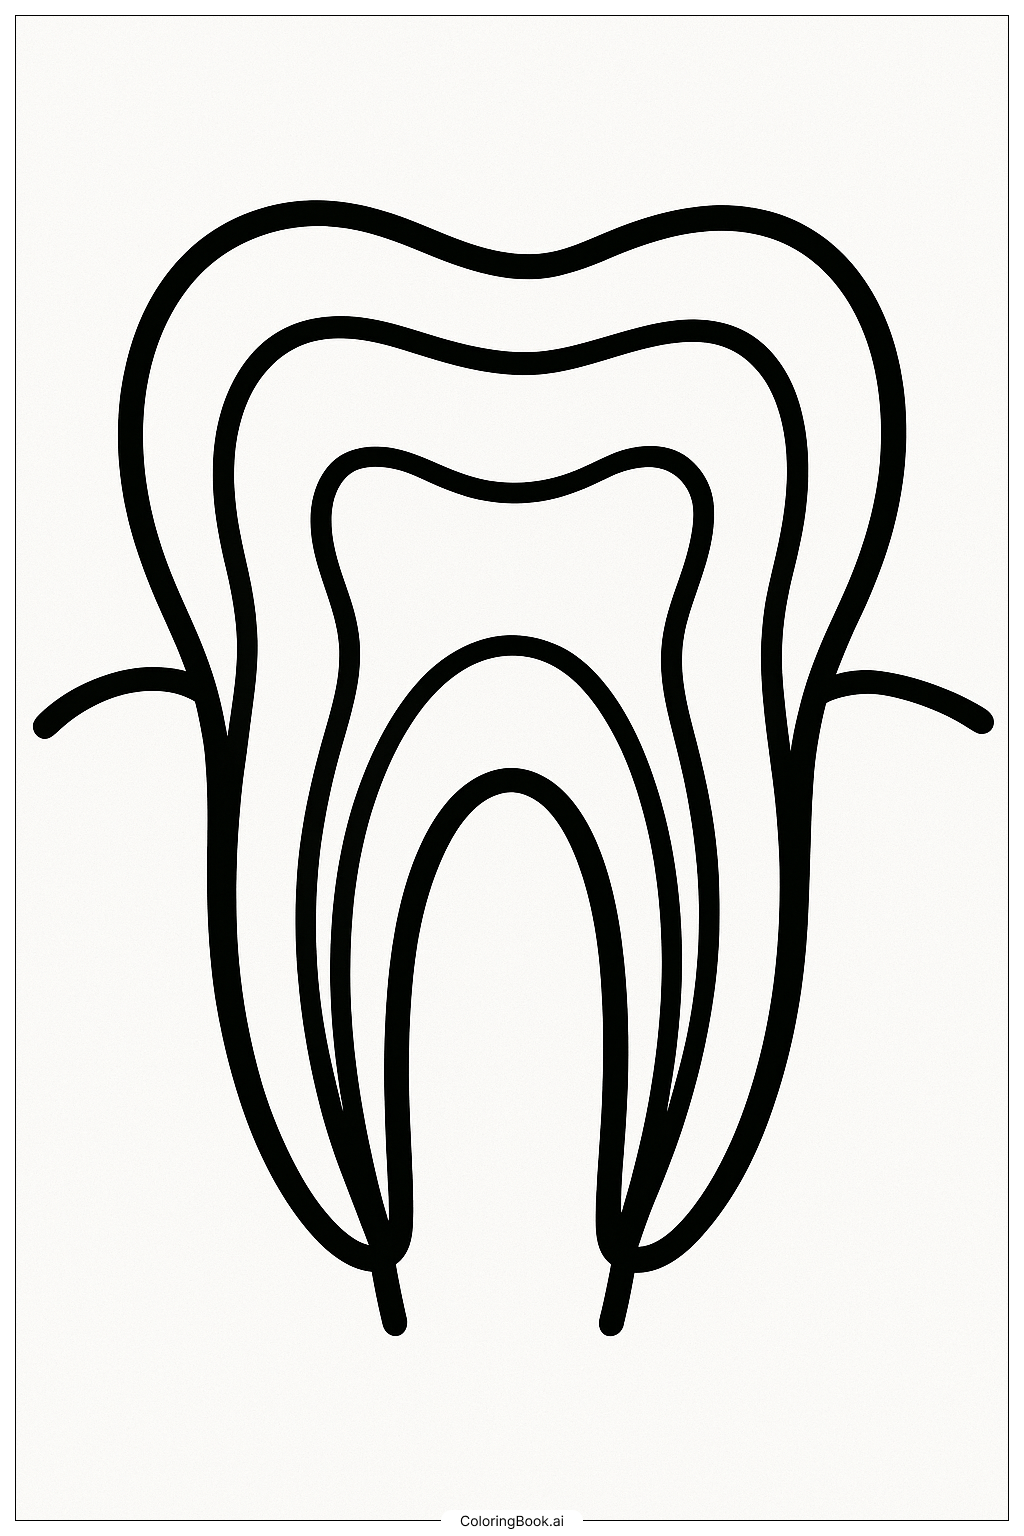
Coloring tips: How to color Simple Tooth Anatomy coloring page well?
When coloring this tooth anatomy, choose different colors for each layer to make it clear. For example, color the enamel white or light blue. Use yellow or light brown for dentin to show it is softer than enamel. The pulp can be colored red or pink to represent nerves and blood vessels. The root can be colored brown or dark yellow. You can also add green or brown for the surrounding gum. Use crayons, colored pencils, or markers to fill in each section carefully inside the lines. Try to use bright colors to make the picture interesting!
Coloring challenges: Which parts are difficult to color and need attention for Simple Tooth Anatomy coloring page?
1. Staying within the thin lines can be tricky especially for younger children. The close curves need careful control to avoid coloring outside the lines.
2. Choosing different colors for similar sized areas like enamel and dentin requires attention. It’s easy to confuse which part has been colored.
3. The curved shapes of the tooth’s layers can be hard to color evenly. Some parts might look uneven if kids rush through.
4. The root area is narrow and small, making it challenging to color without smudging.
5. Understanding which colors to use for each tooth part might be difficult without guidance.
Benefits of coloring books: Advantages of drawing Simple Tooth Anatomy coloring page
Coloring this tooth anatomy helps children learn about the different parts of a tooth. It improves their focus and hand control when coloring inside the lines. Using different colors to separate tooth parts aids memory and understanding of anatomy. It also encourages creativity while teaching something useful about dental health. Overall, it combines fun and education, making learning about teeth enjoyable.